Choose where to insert the clip
Play through your video and pause at the point where you want the external clip to appear. Split the video at this point by clicking the Split button..png?fit=max&auto=format&n=hL6BUGKSYNmbYbQZ&q=85&s=c71b99065250b44c6441fc7782bc7377)
Add a new clip
After splitting, click Add Clip..png?fit=max&auto=format&n=hL6BUGKSYNmbYbQZ&q=85&s=558f595d9cab1d0a590db527f8b27dbb)
Upload your file
Select Upload file..png?fit=max&auto=format&n=hL6BUGKSYNmbYbQZ&q=85&s=d121d92ab13fdfbc21fb0587b75bf634)
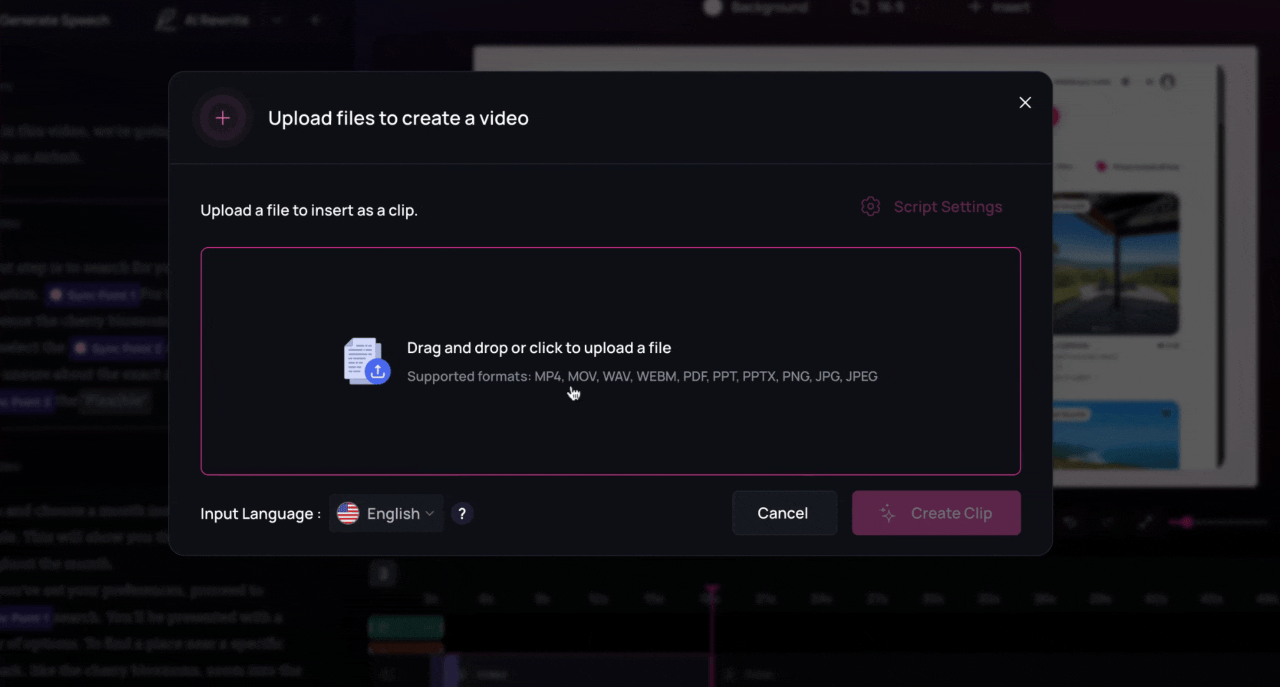
.png?fit=max&auto=format&n=hL6BUGKSYNmbYbQZ&q=85&s=f7fd0e90196f62473e72b8ea46b3d9e5)
Next steps
- The uploaded clip will appear in your timeline along with its auto-generated script.
- You can edit this script as needed and then add an AI voiceover by selecting a voice and clicking Generate Speech.
- The clip can also be rearranged, trimmed, or enhanced with elements—just like any other part of your Clueso project.