Adding a Transition
1
Open the Transitions panel
Click the Transitions button in the left-side toolbar to open the transitions panel. You’ll see all available transition effects with preview thumbnails.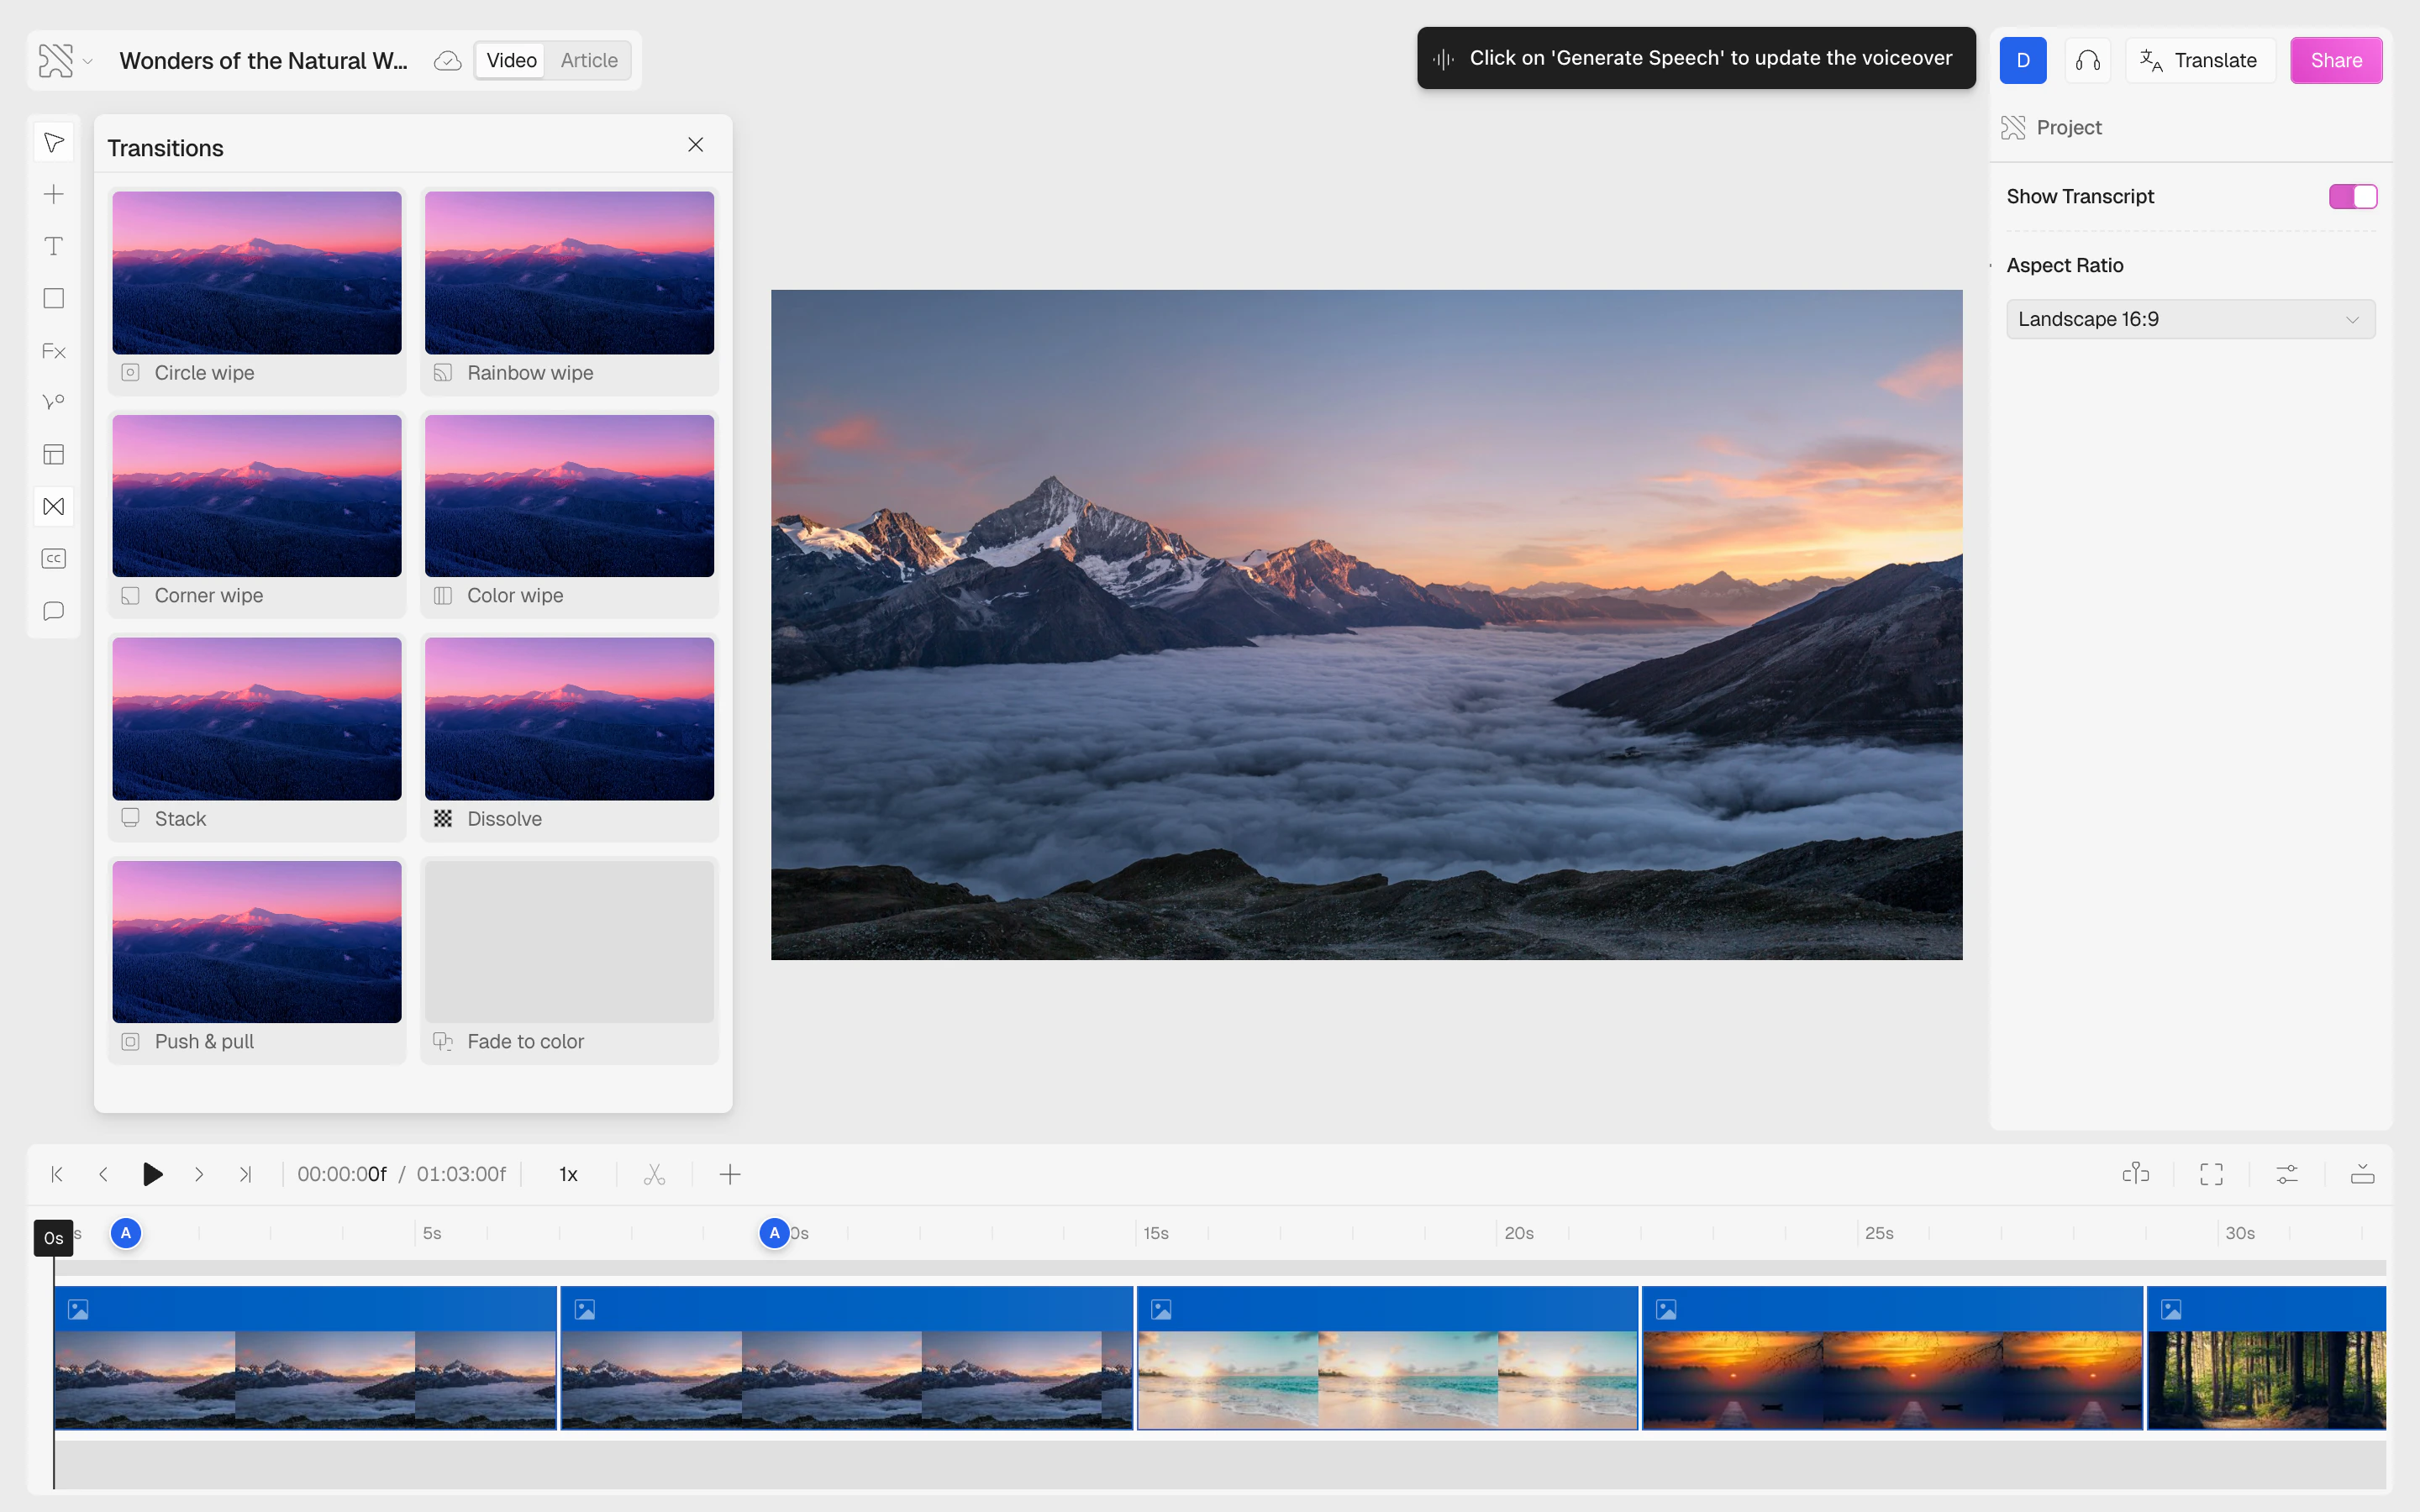
2
Choose a transition style
Click on the transition you want to apply. The available styles are: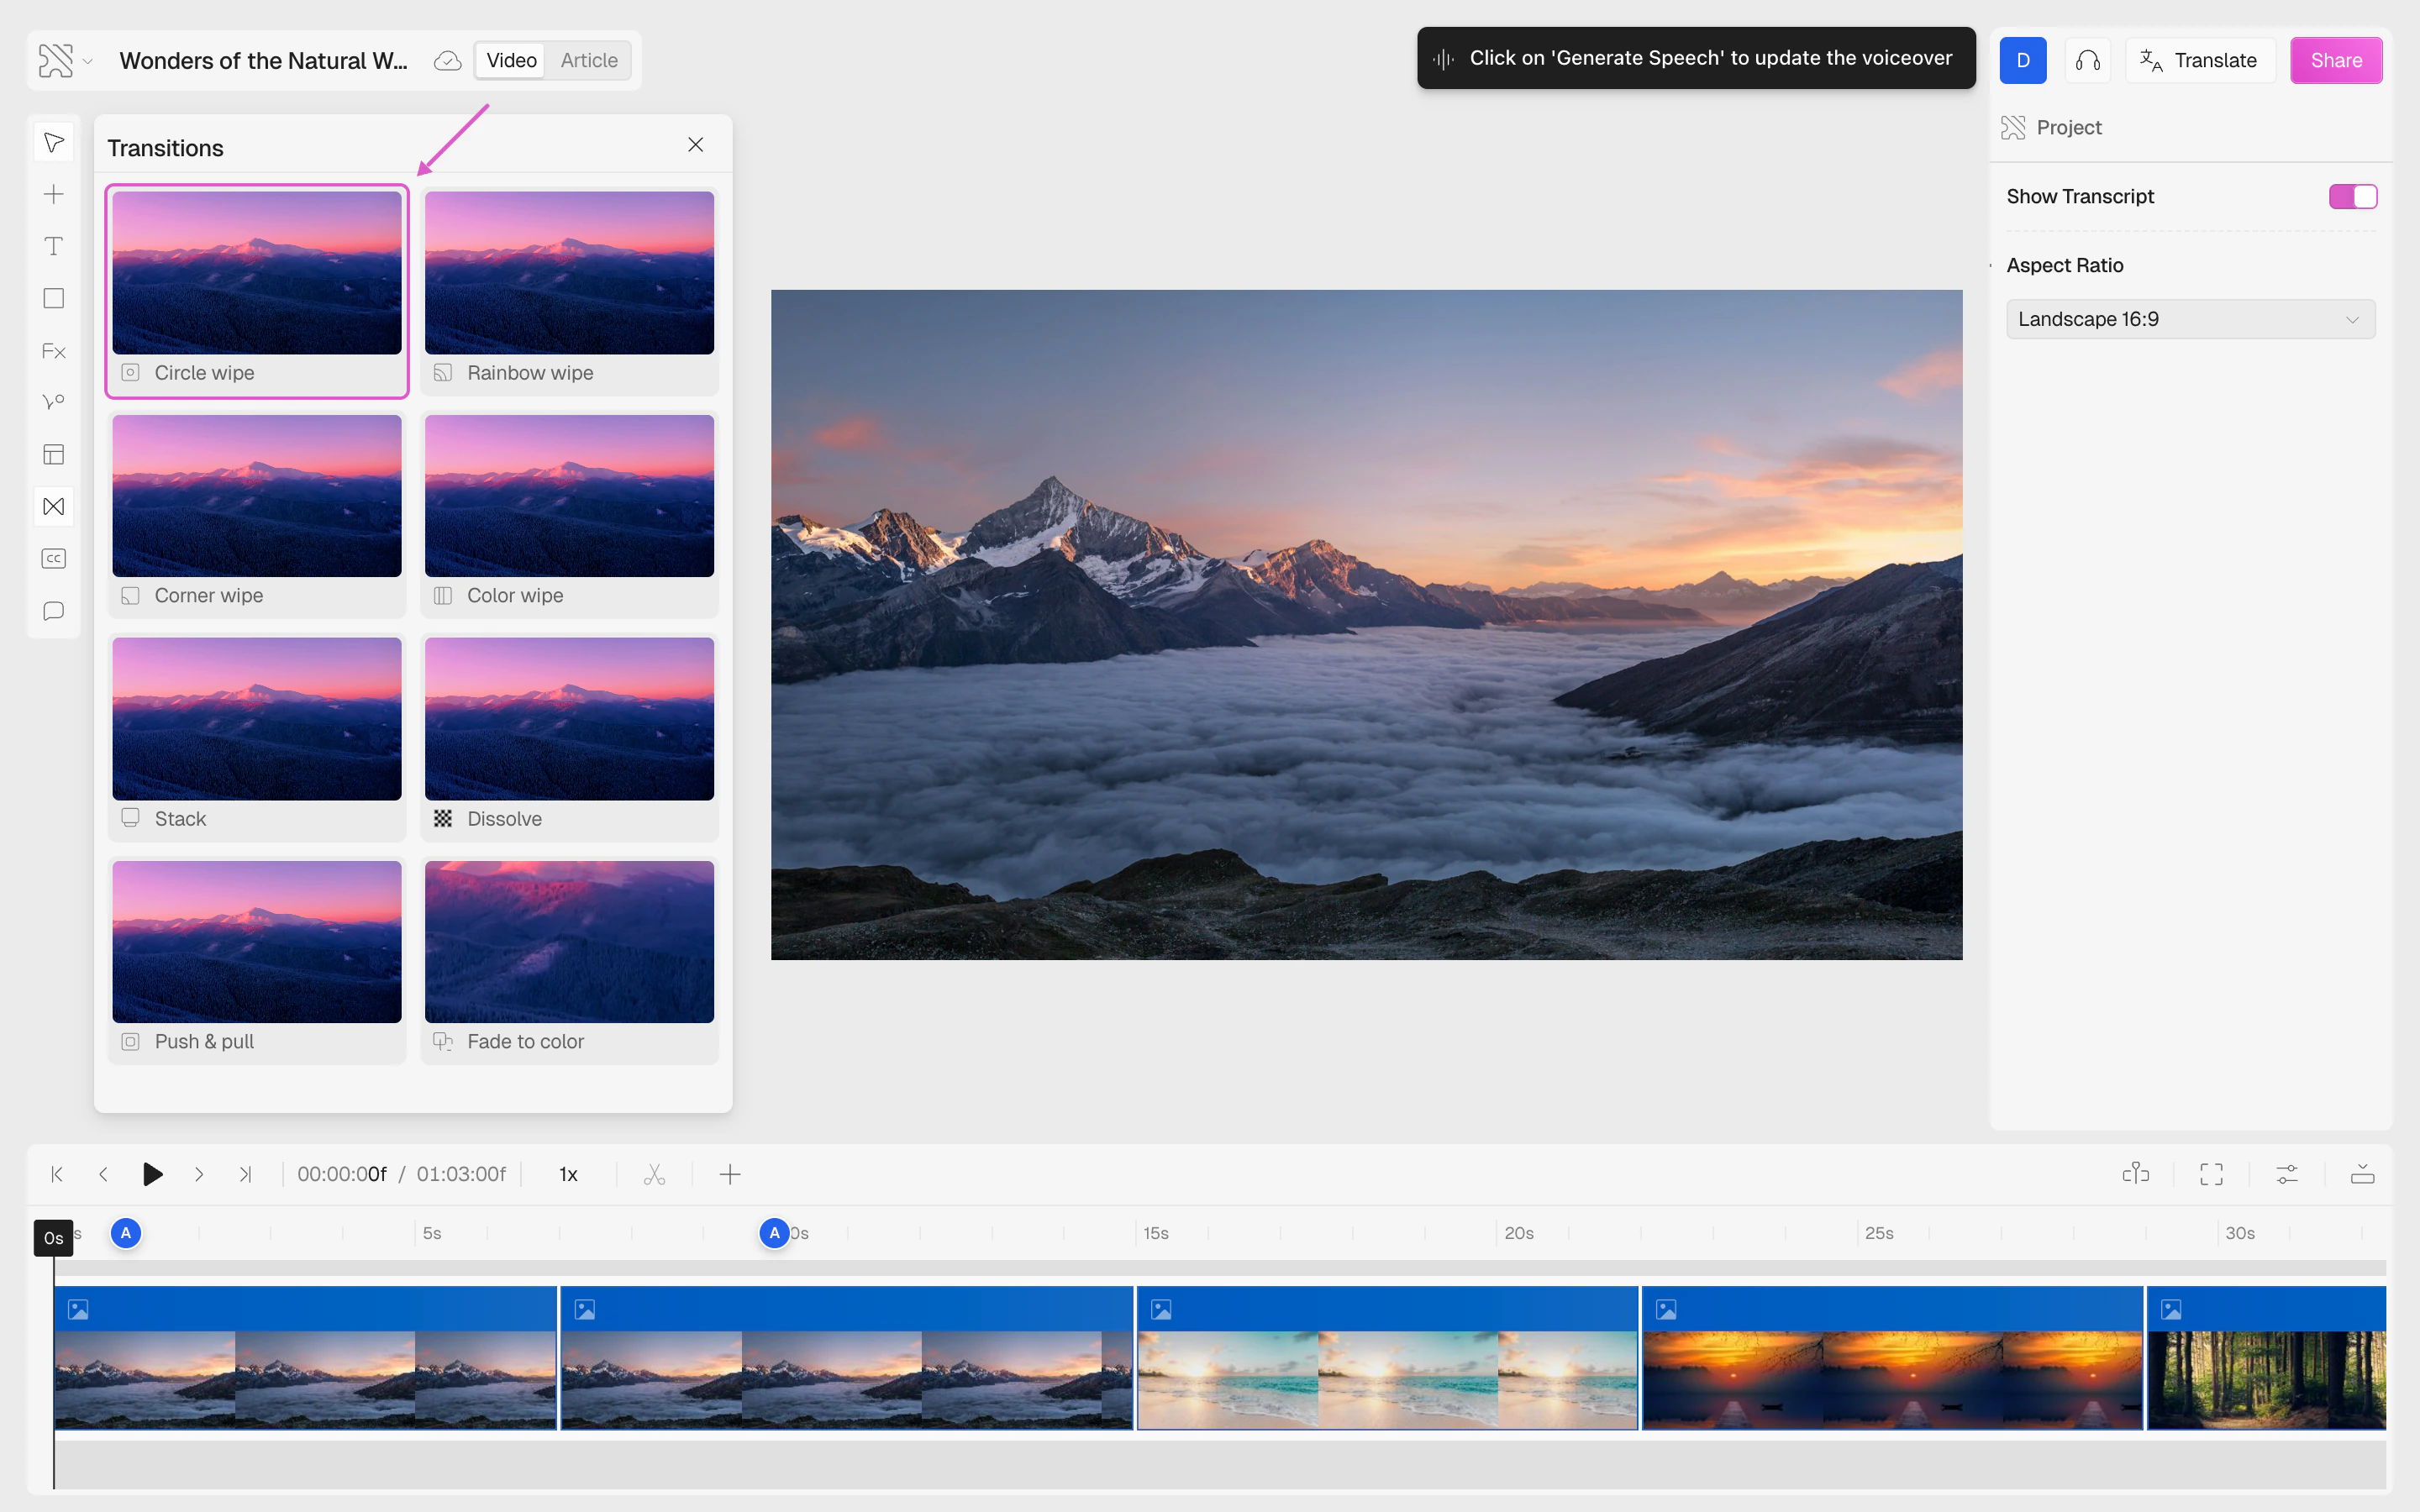
Hover over any transition card to preview the effect before selecting it.
3
Adjust the settings
After selecting a transition, the settings panel appears on the right with controls to customize it.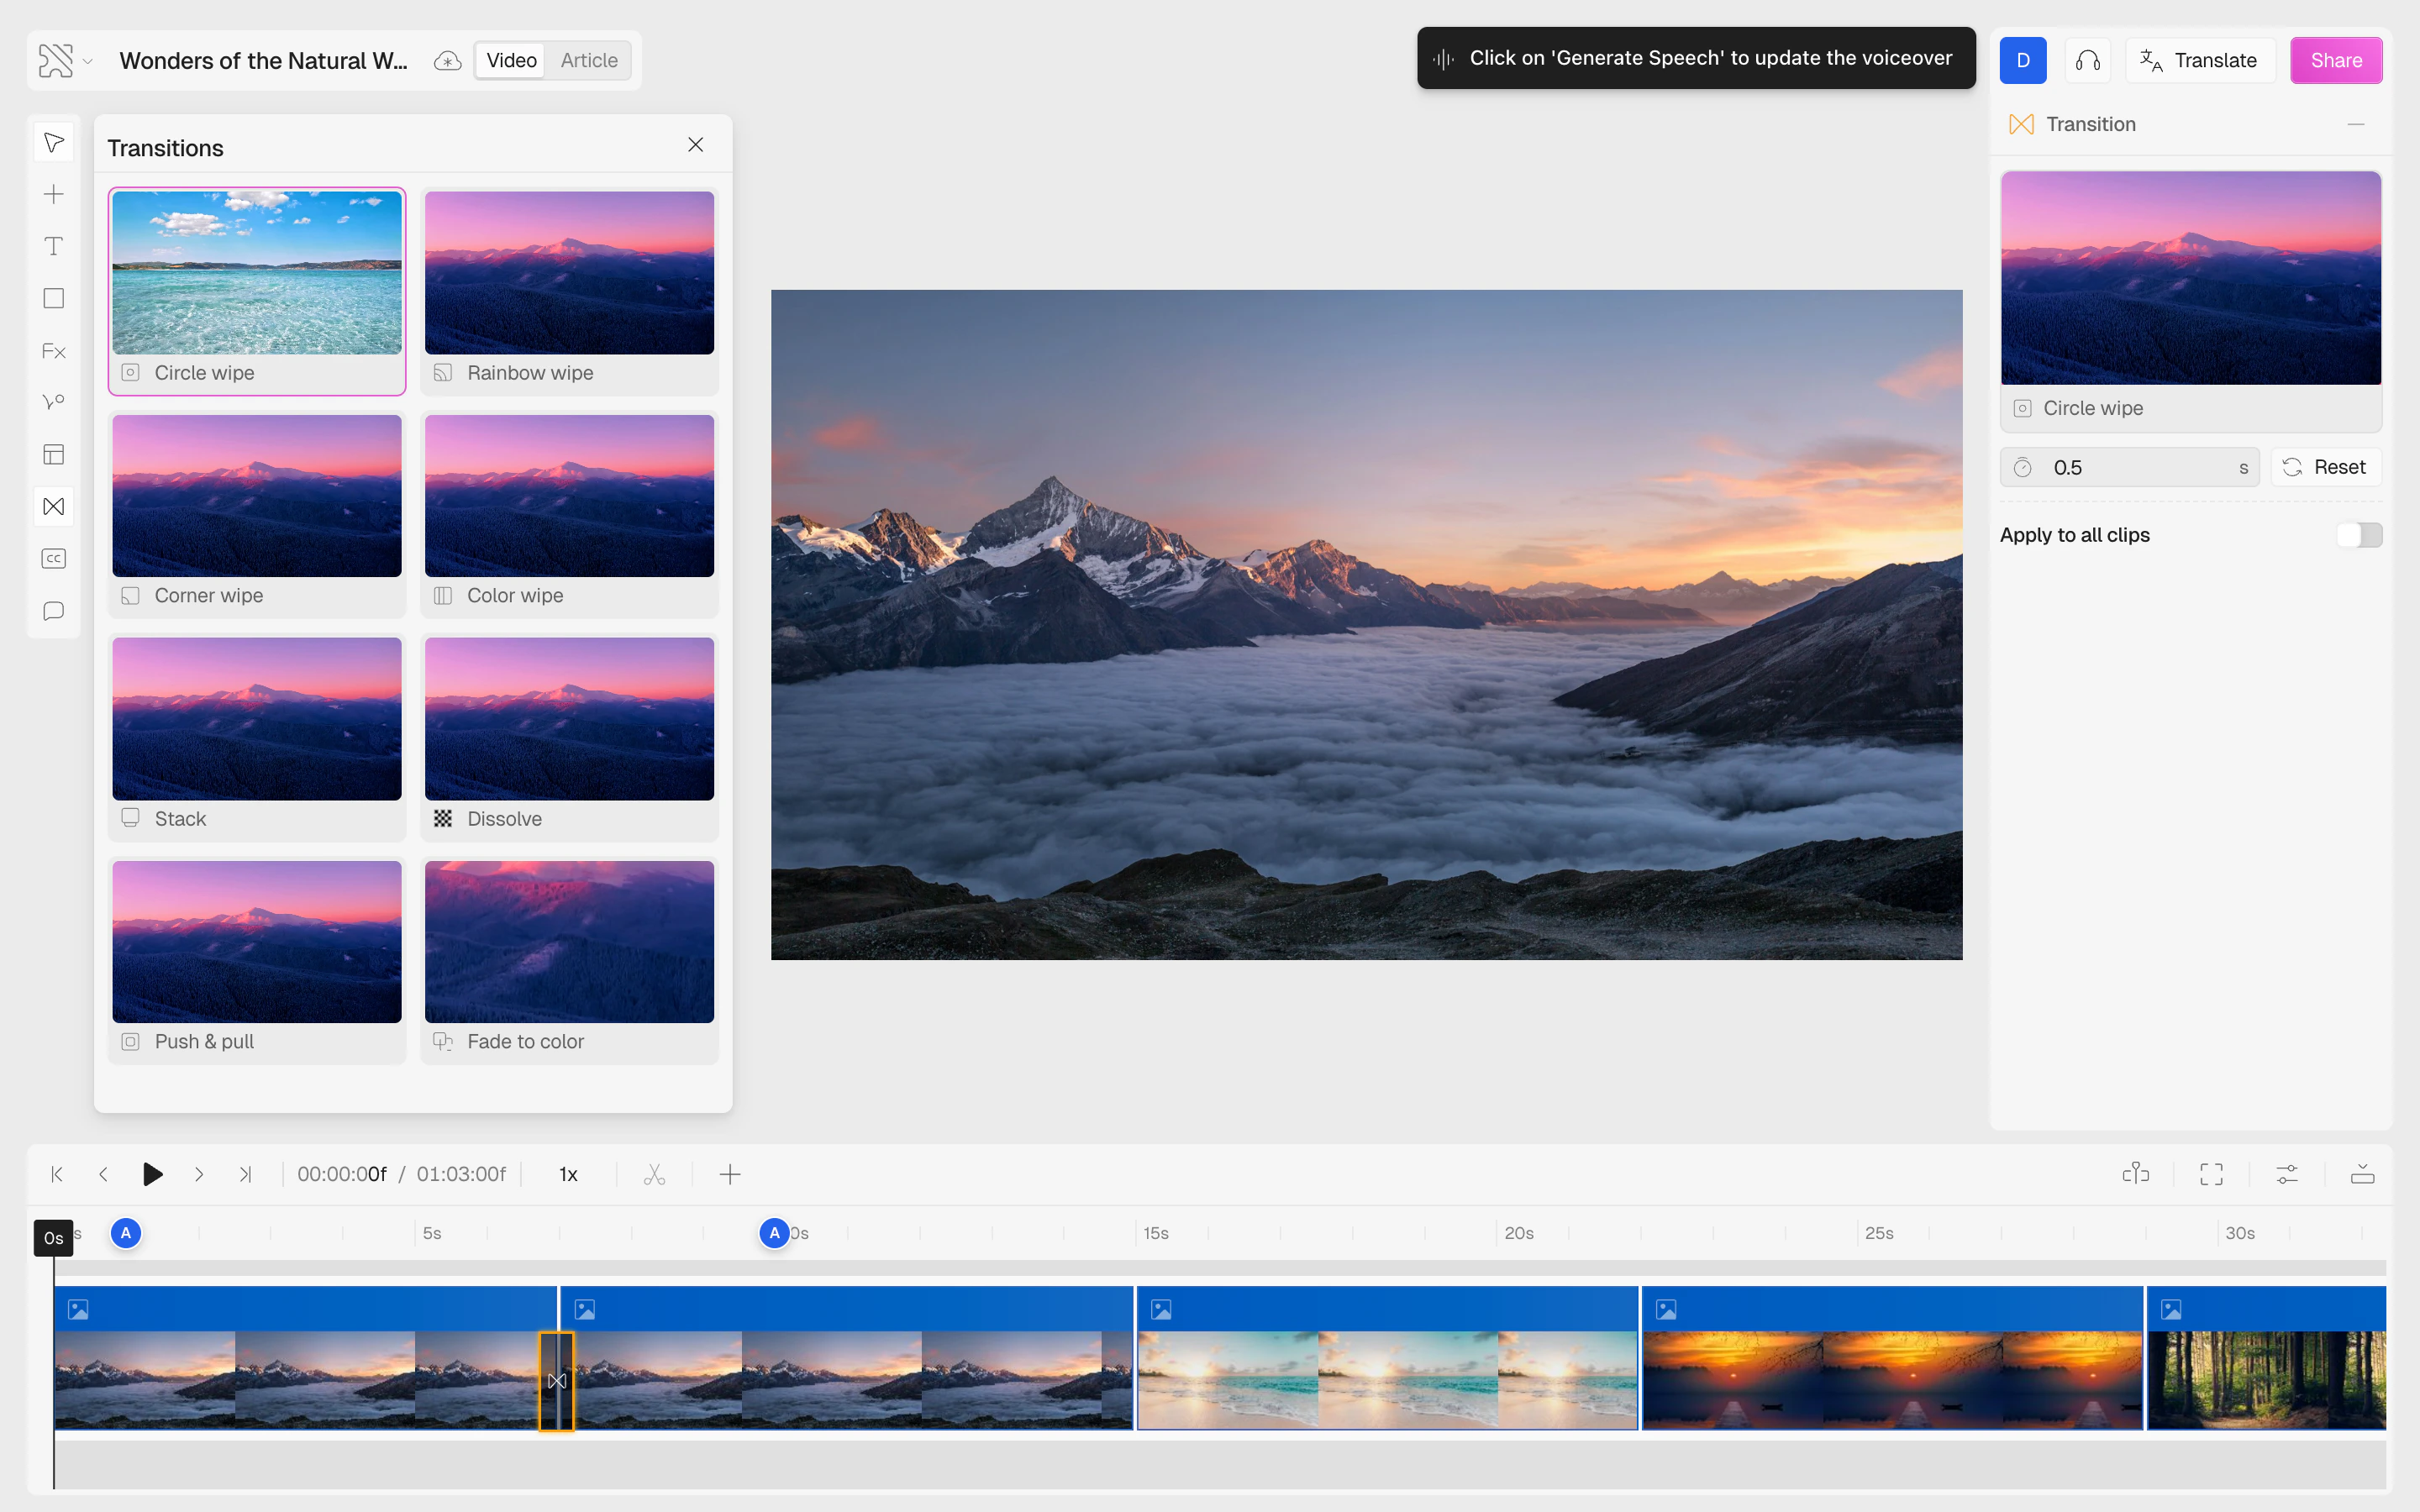
Transition Settings
Once a transition is applied, you can fine-tune it in the right panel:- Duration — set how long the transition lasts, from 0.1 to 5 seconds (default is 0.5s). Use the input field or click Reset to restore the default.
-
Direction — for transitions that support it (Stack, Corner wipe, Color wipe), choose the direction:
- Corner directions: top-left, top-right, bottom-left, bottom-right
- Side directions: left, right, top, bottom
- Horizontal: left, right
- Color — for Color wipe and Fade to color, pick a custom color using the color picker.
- Apply to all clips — toggle this on to apply the same transition between every clip in the video at once.
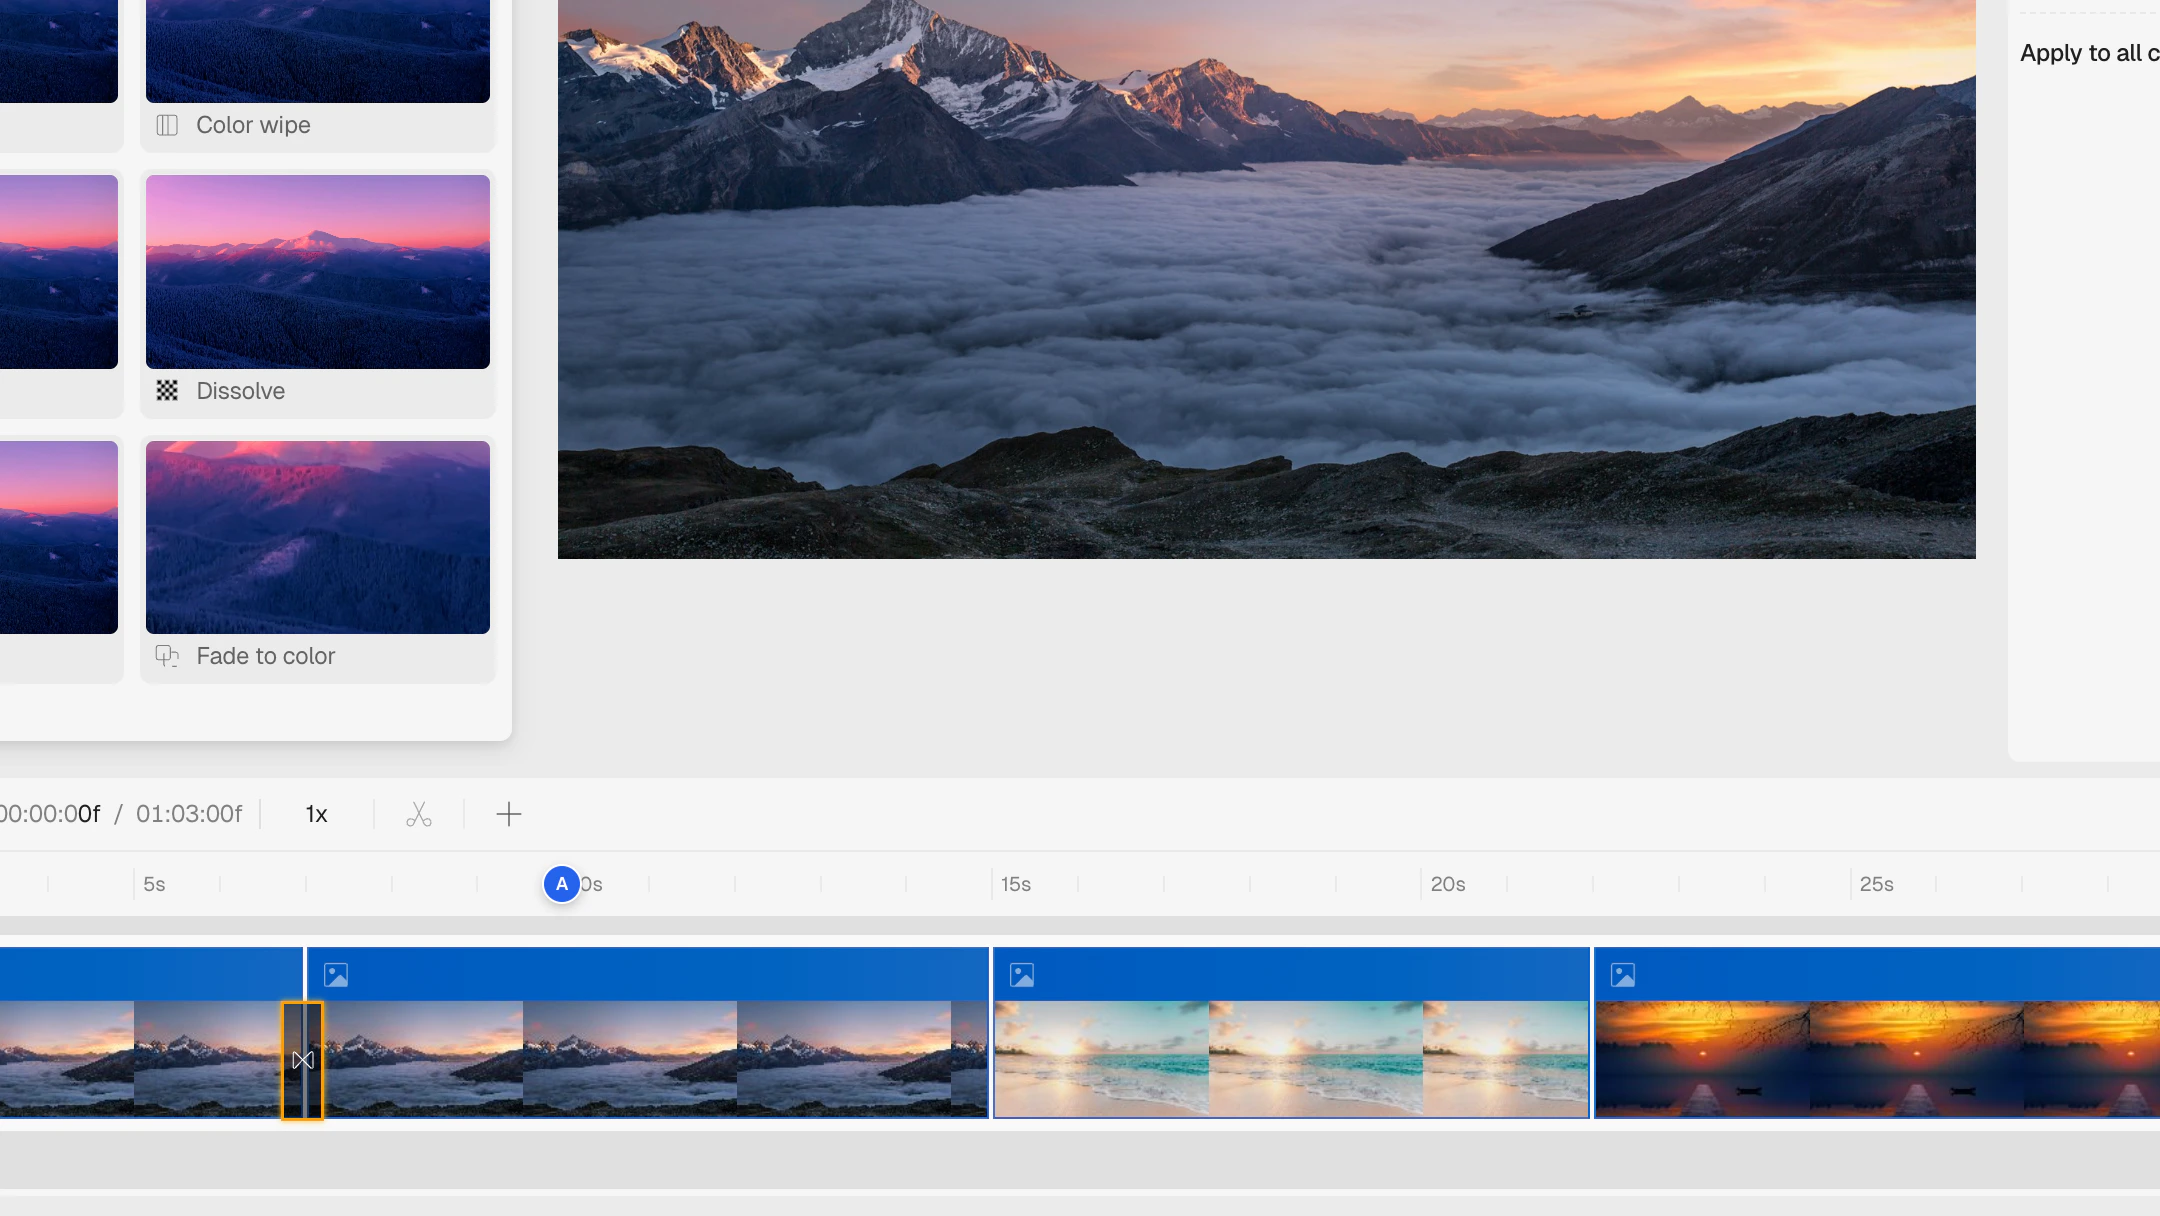
Timeline Indicator
When a transition is applied, it appears as a small visual indicator between clips in the timeline. You can click on it to re-open the settings panel.