Base prompts are foundational instructions that define the style and tone the AI documentation copilot will use throughout your documentation.
Getting Started
Follow these steps to create and customize prompts:1
Begin by clicking Change. A popup will appear, allowing you to switch
between prompts and designate one as the default. 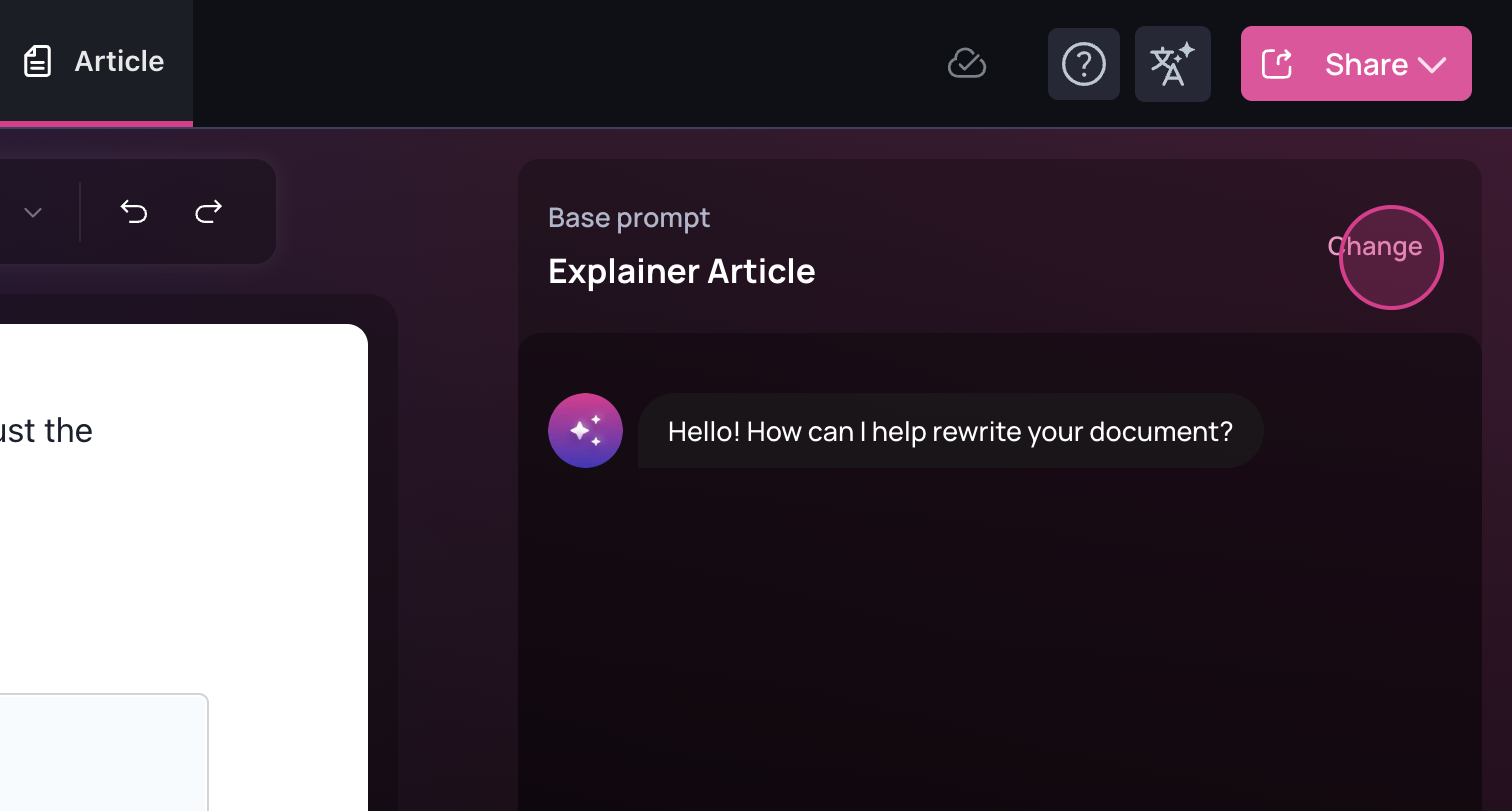

2
In this section, you can select, modify, or replace prompts. Pre-created
prompts are available to address most common use cases.
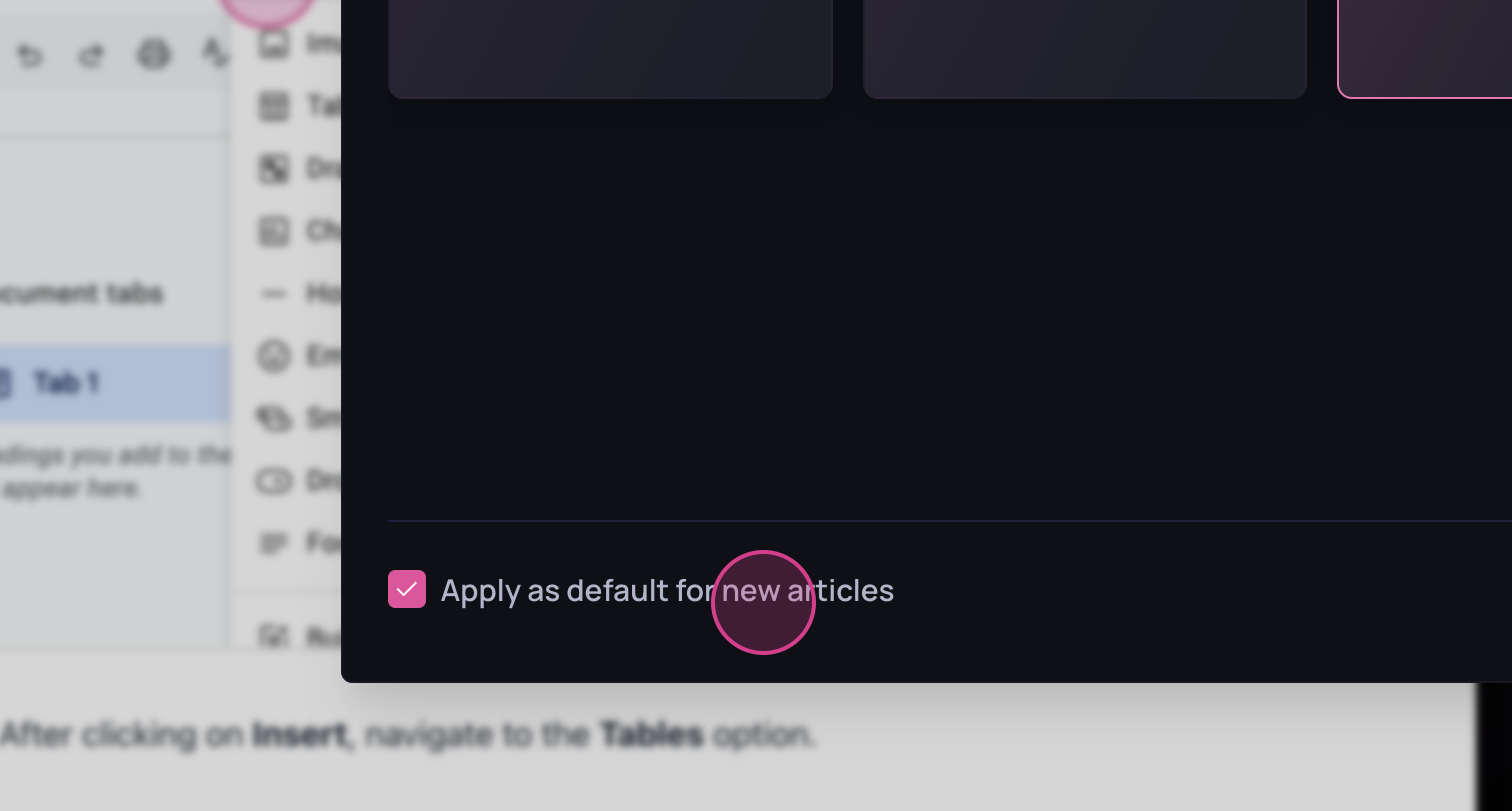
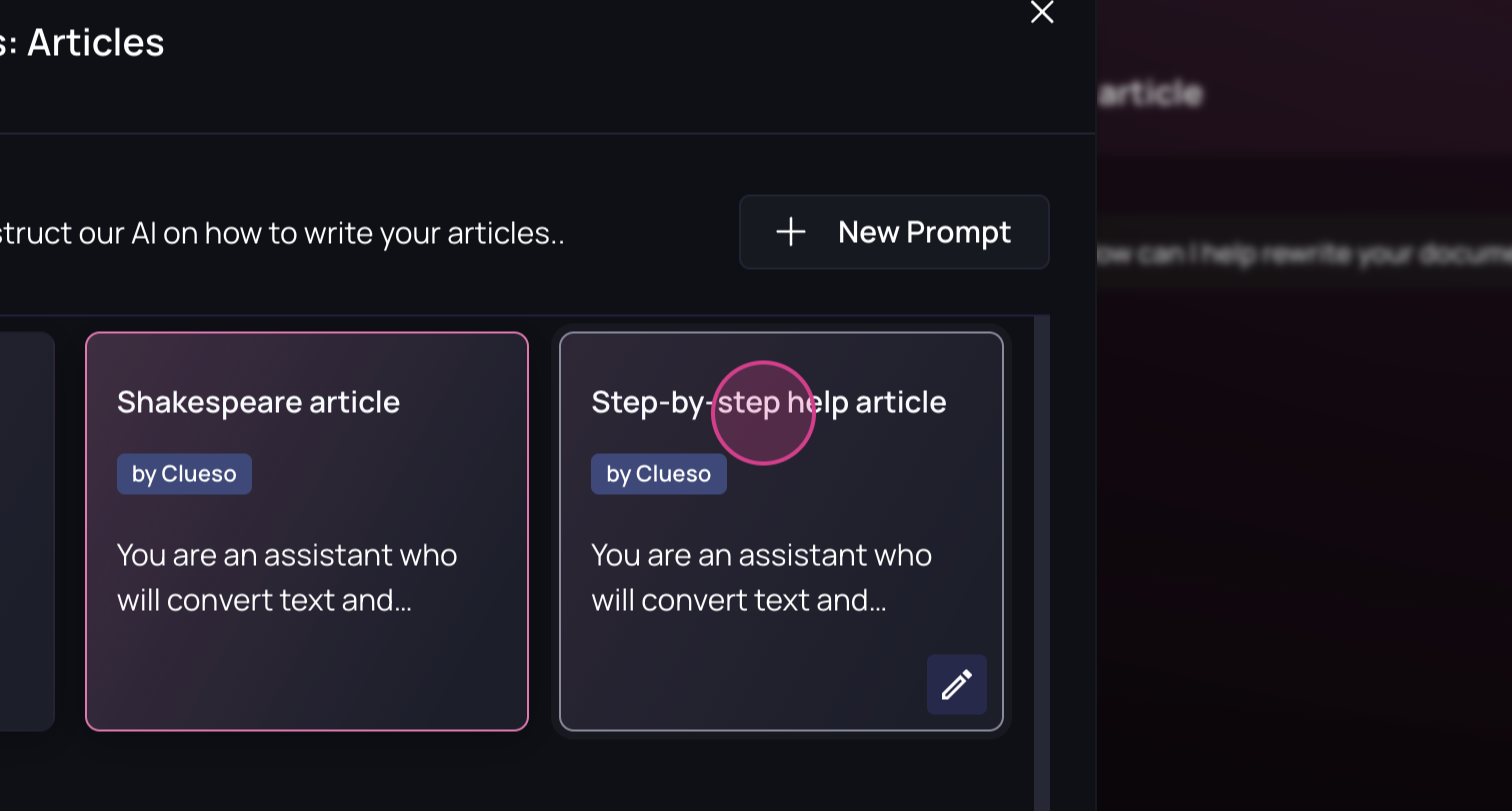 For new documentation, you can choose to uncheck
the default option or mark a different prompt as the default.
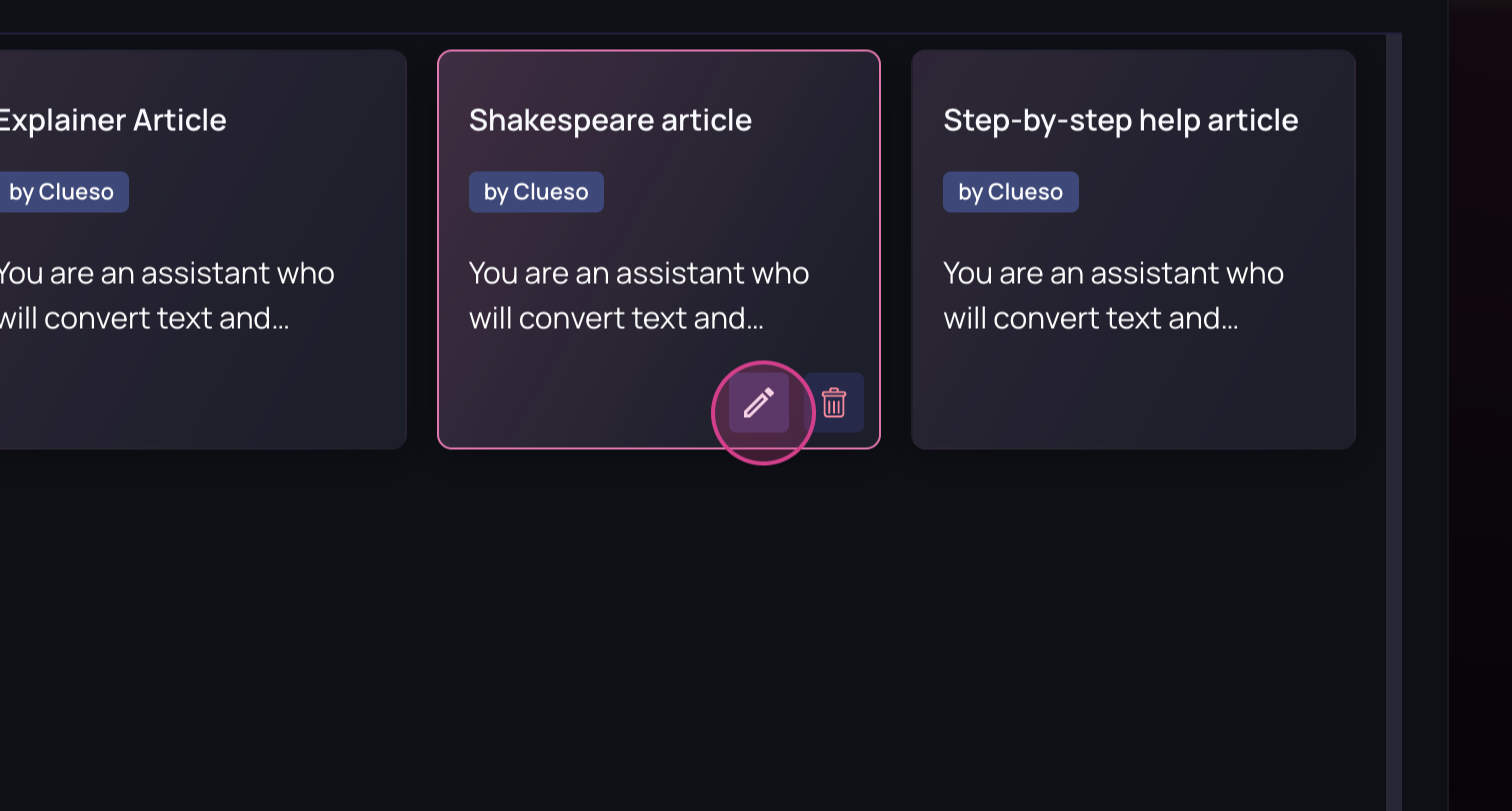
 To edit a prompt, hover over it and click the pen
icon. This will display the title and the prompt content, both of which can
be edited.
 For new documentation, you can choose to uncheck
the default option or mark a different prompt as the default.
 To edit a prompt, hover over it and click the pen
icon. This will display the title and the prompt content, both of which can
be edited.
3
Let’s create a new prompt to transform a document into a newsletter for a
feature launch.  Provide the details for your new
prompt. Start with a clear and concise title that summarizes the purpose of
the prompt. Below the title, include a well-structured and detailed
description outlining the guidelines and expectations for the AI to follow
throughout the documentation.
 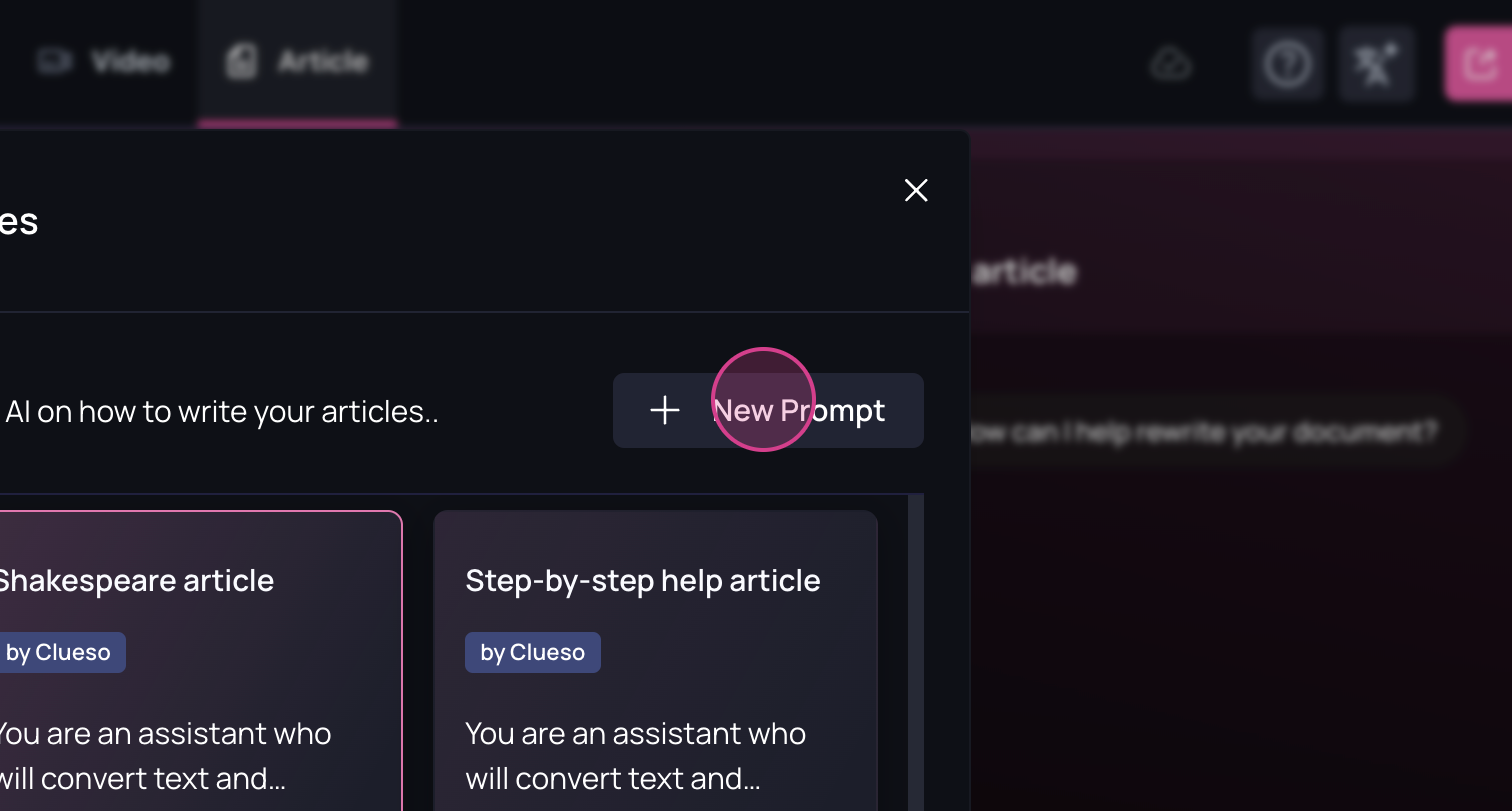 You can choose to
set this prompt as the default for all documentation. For this example,
we’ll leave it unchecked and click Confirm.
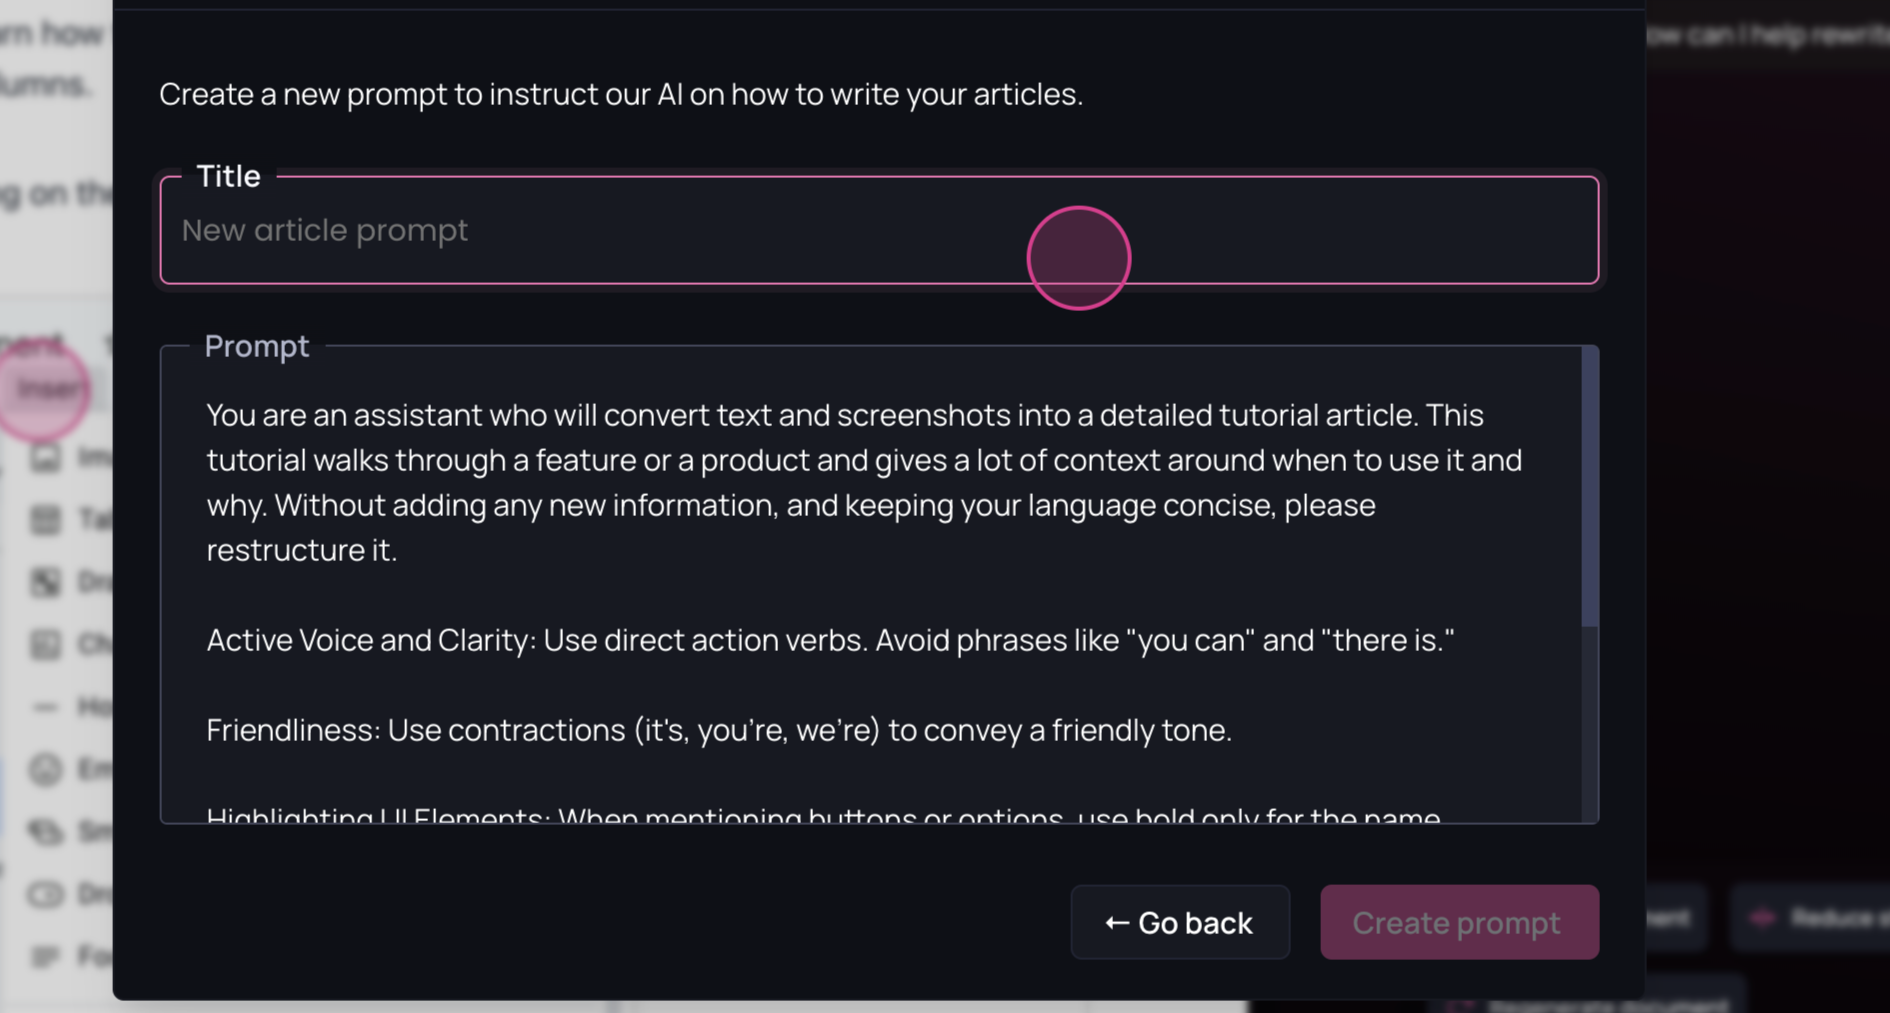
 Provide the details for your new
prompt. Start with a clear and concise title that summarizes the purpose of
the prompt. Below the title, include a well-structured and detailed
description outlining the guidelines and expectations for the AI to follow
throughout the documentation.
  You can choose to
set this prompt as the default for all documentation. For this example,
we’ll leave it unchecked and click Confirm.
4
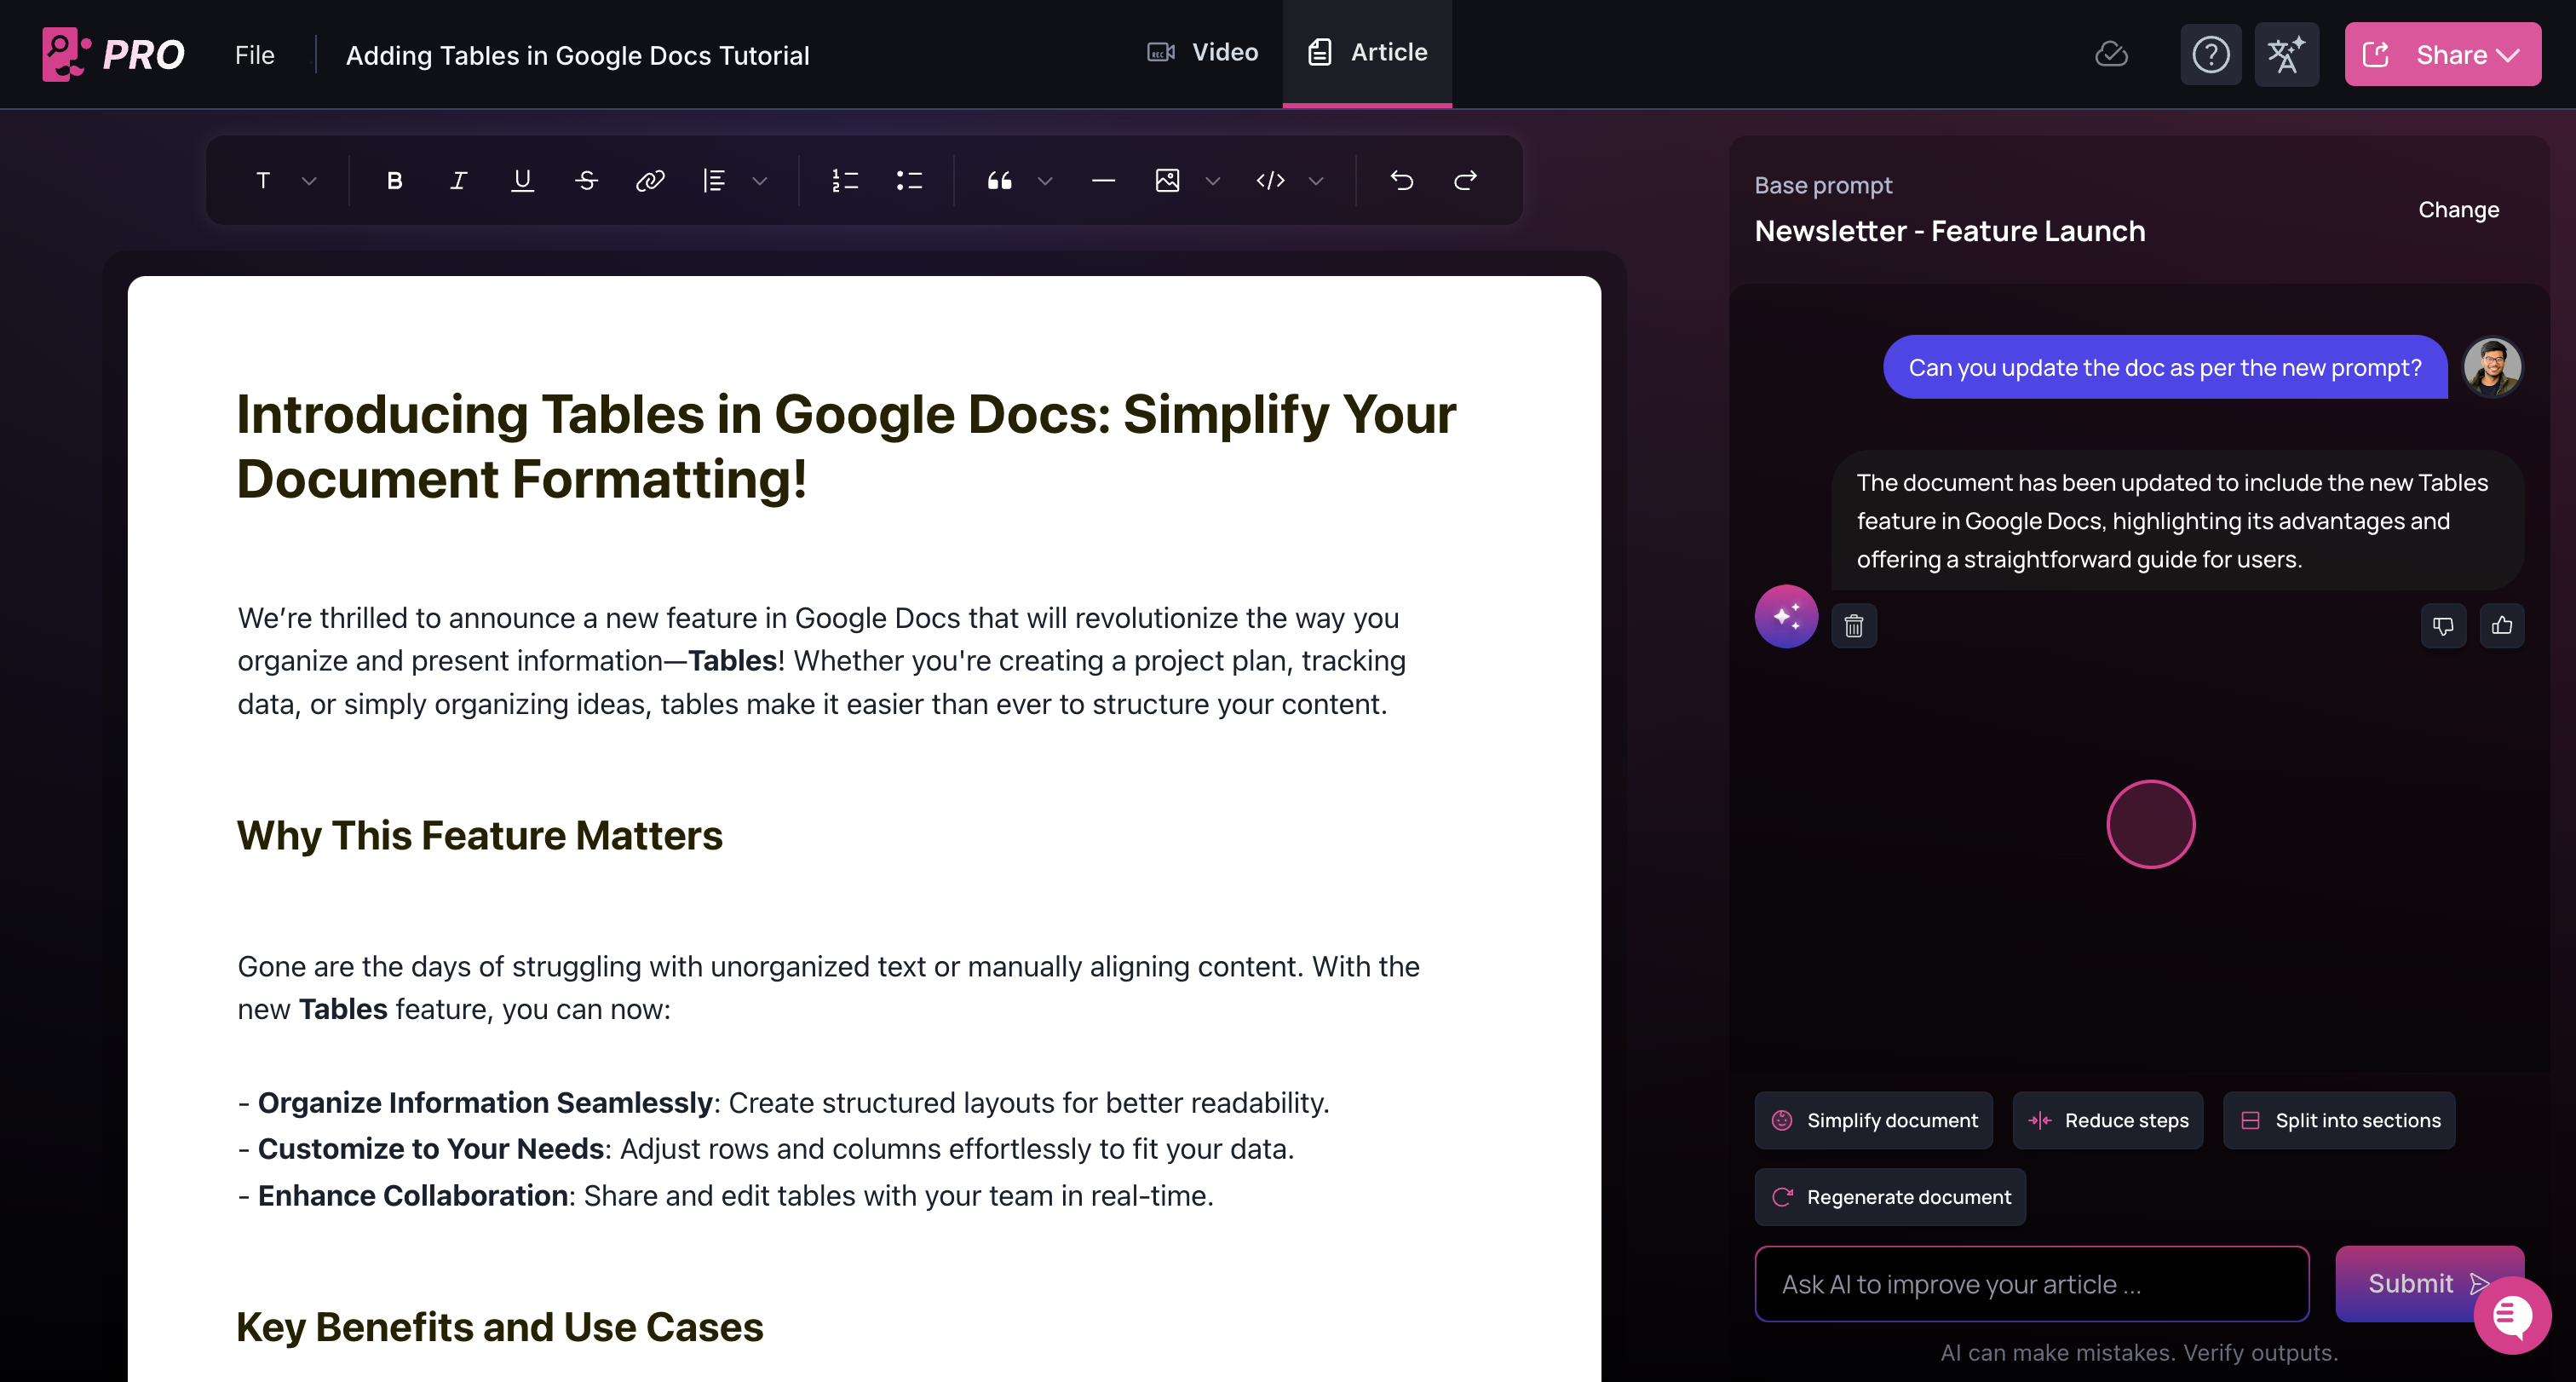
The AI will begin transforming the document to align with the selected base
prompt. 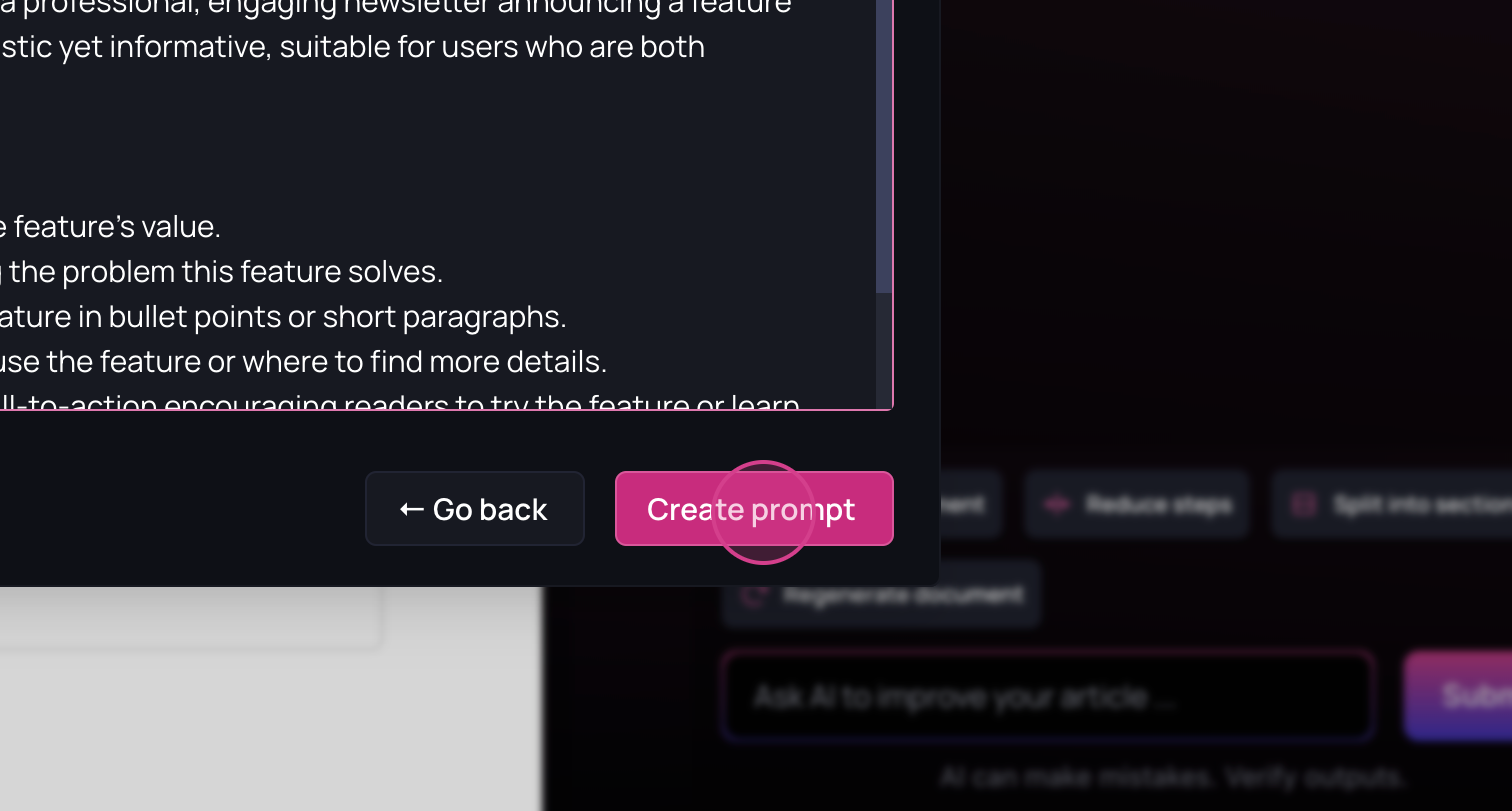 If the results aren’t satisfactory, you
can undo the changes or use the AI documentation copilot to make further
adjustments.
 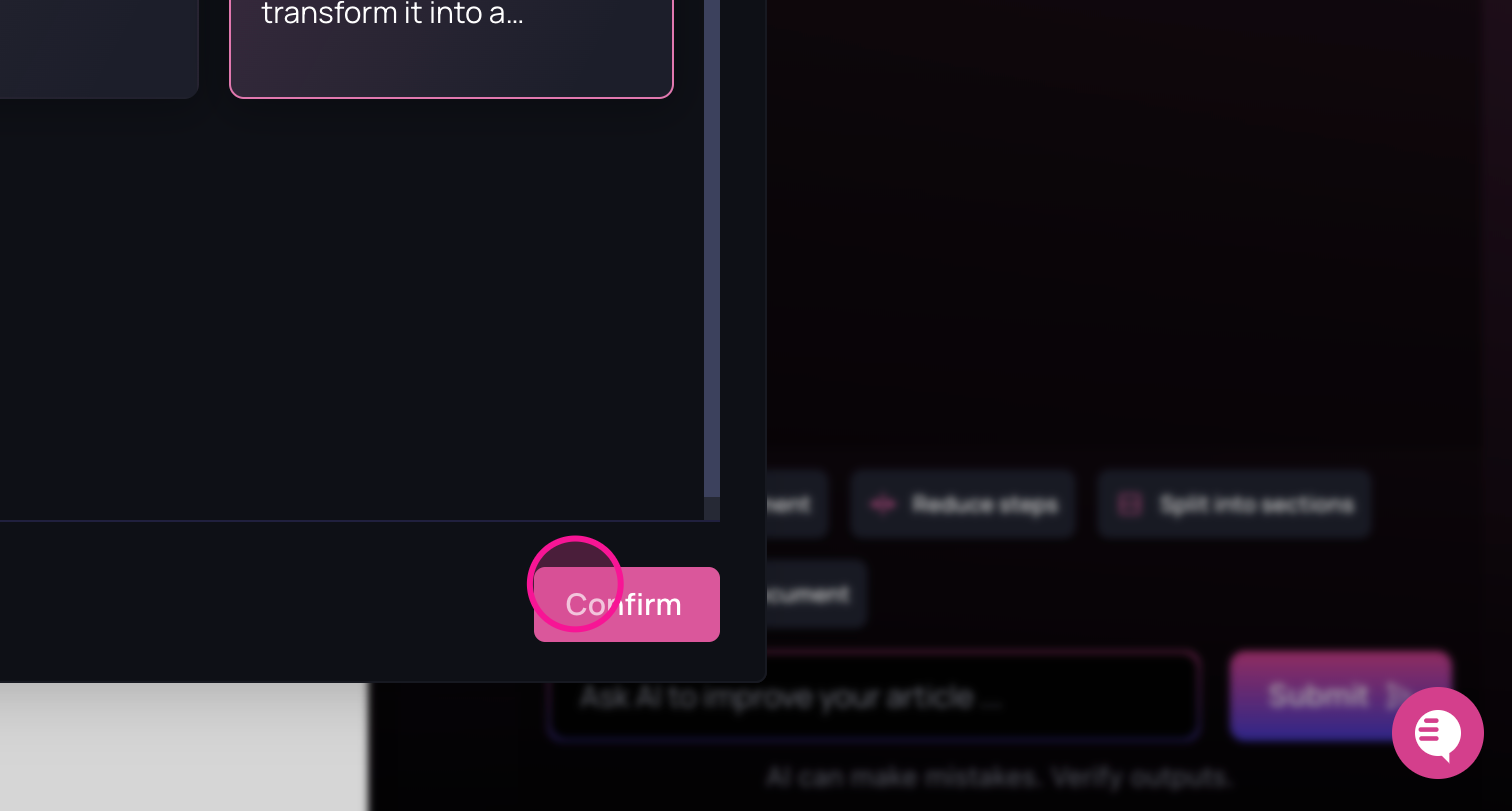 As shown, the document has been
updated to reflect the base prompt.
 If the results aren’t satisfactory, you
can undo the changes or use the AI documentation copilot to make further
adjustments.
  As shown, the document has been
updated to reflect the base prompt.
5
Next, as an example, let’s edit the document using the AI Copilot by
dividing it into sections. 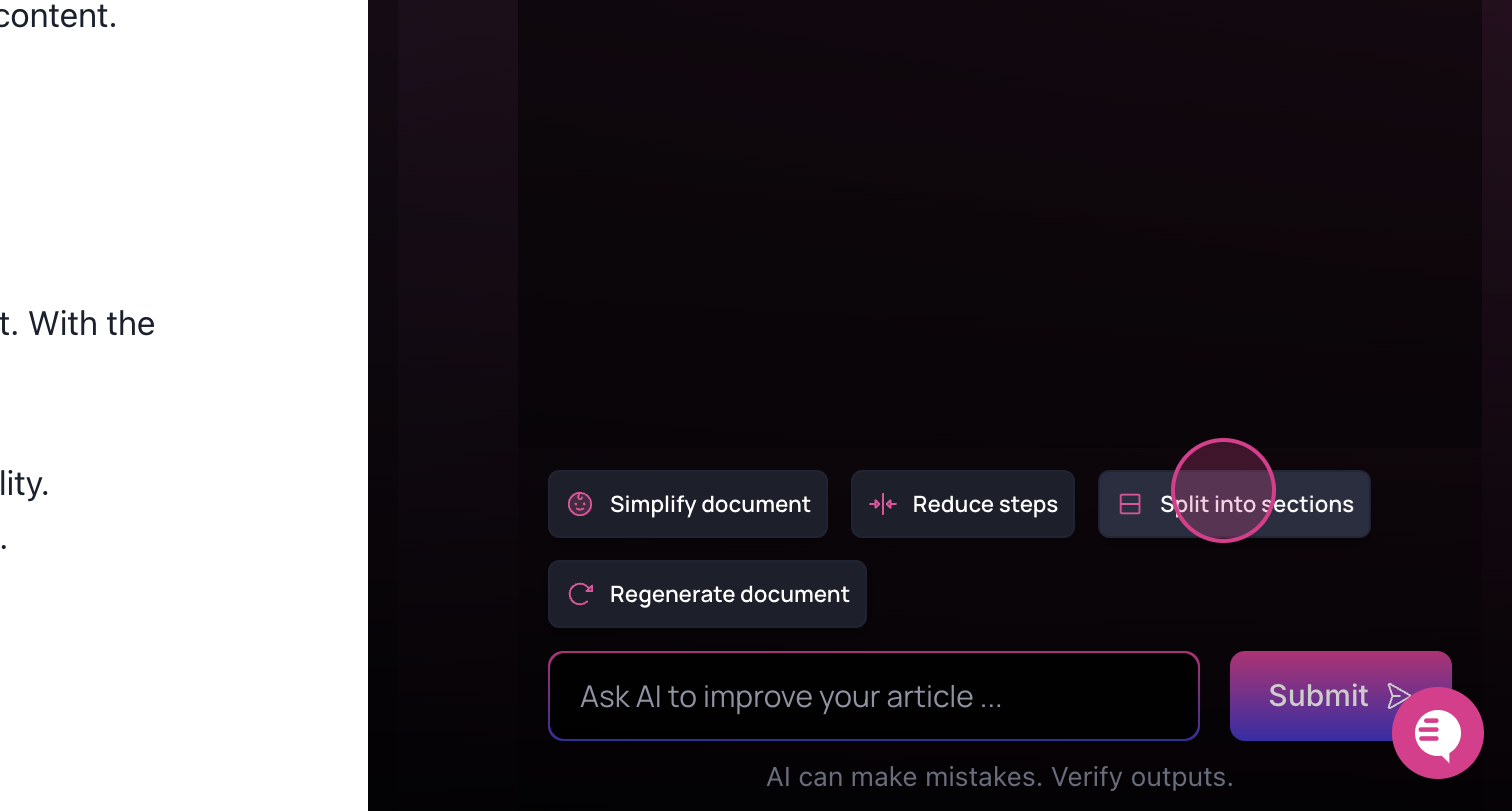 Once the process is
complete, the AI will organize the document into sections based on the
instructions in the base prompt.
 Once the process is
complete, the AI will organize the document into sections based on the
instructions in the base prompt.