Adding Custom Fonts
Follow these steps to upload and use custom fonts:1
Select a text element
Click on any text element in your video to select it. The right panel will switch to show text properties including the Typography section.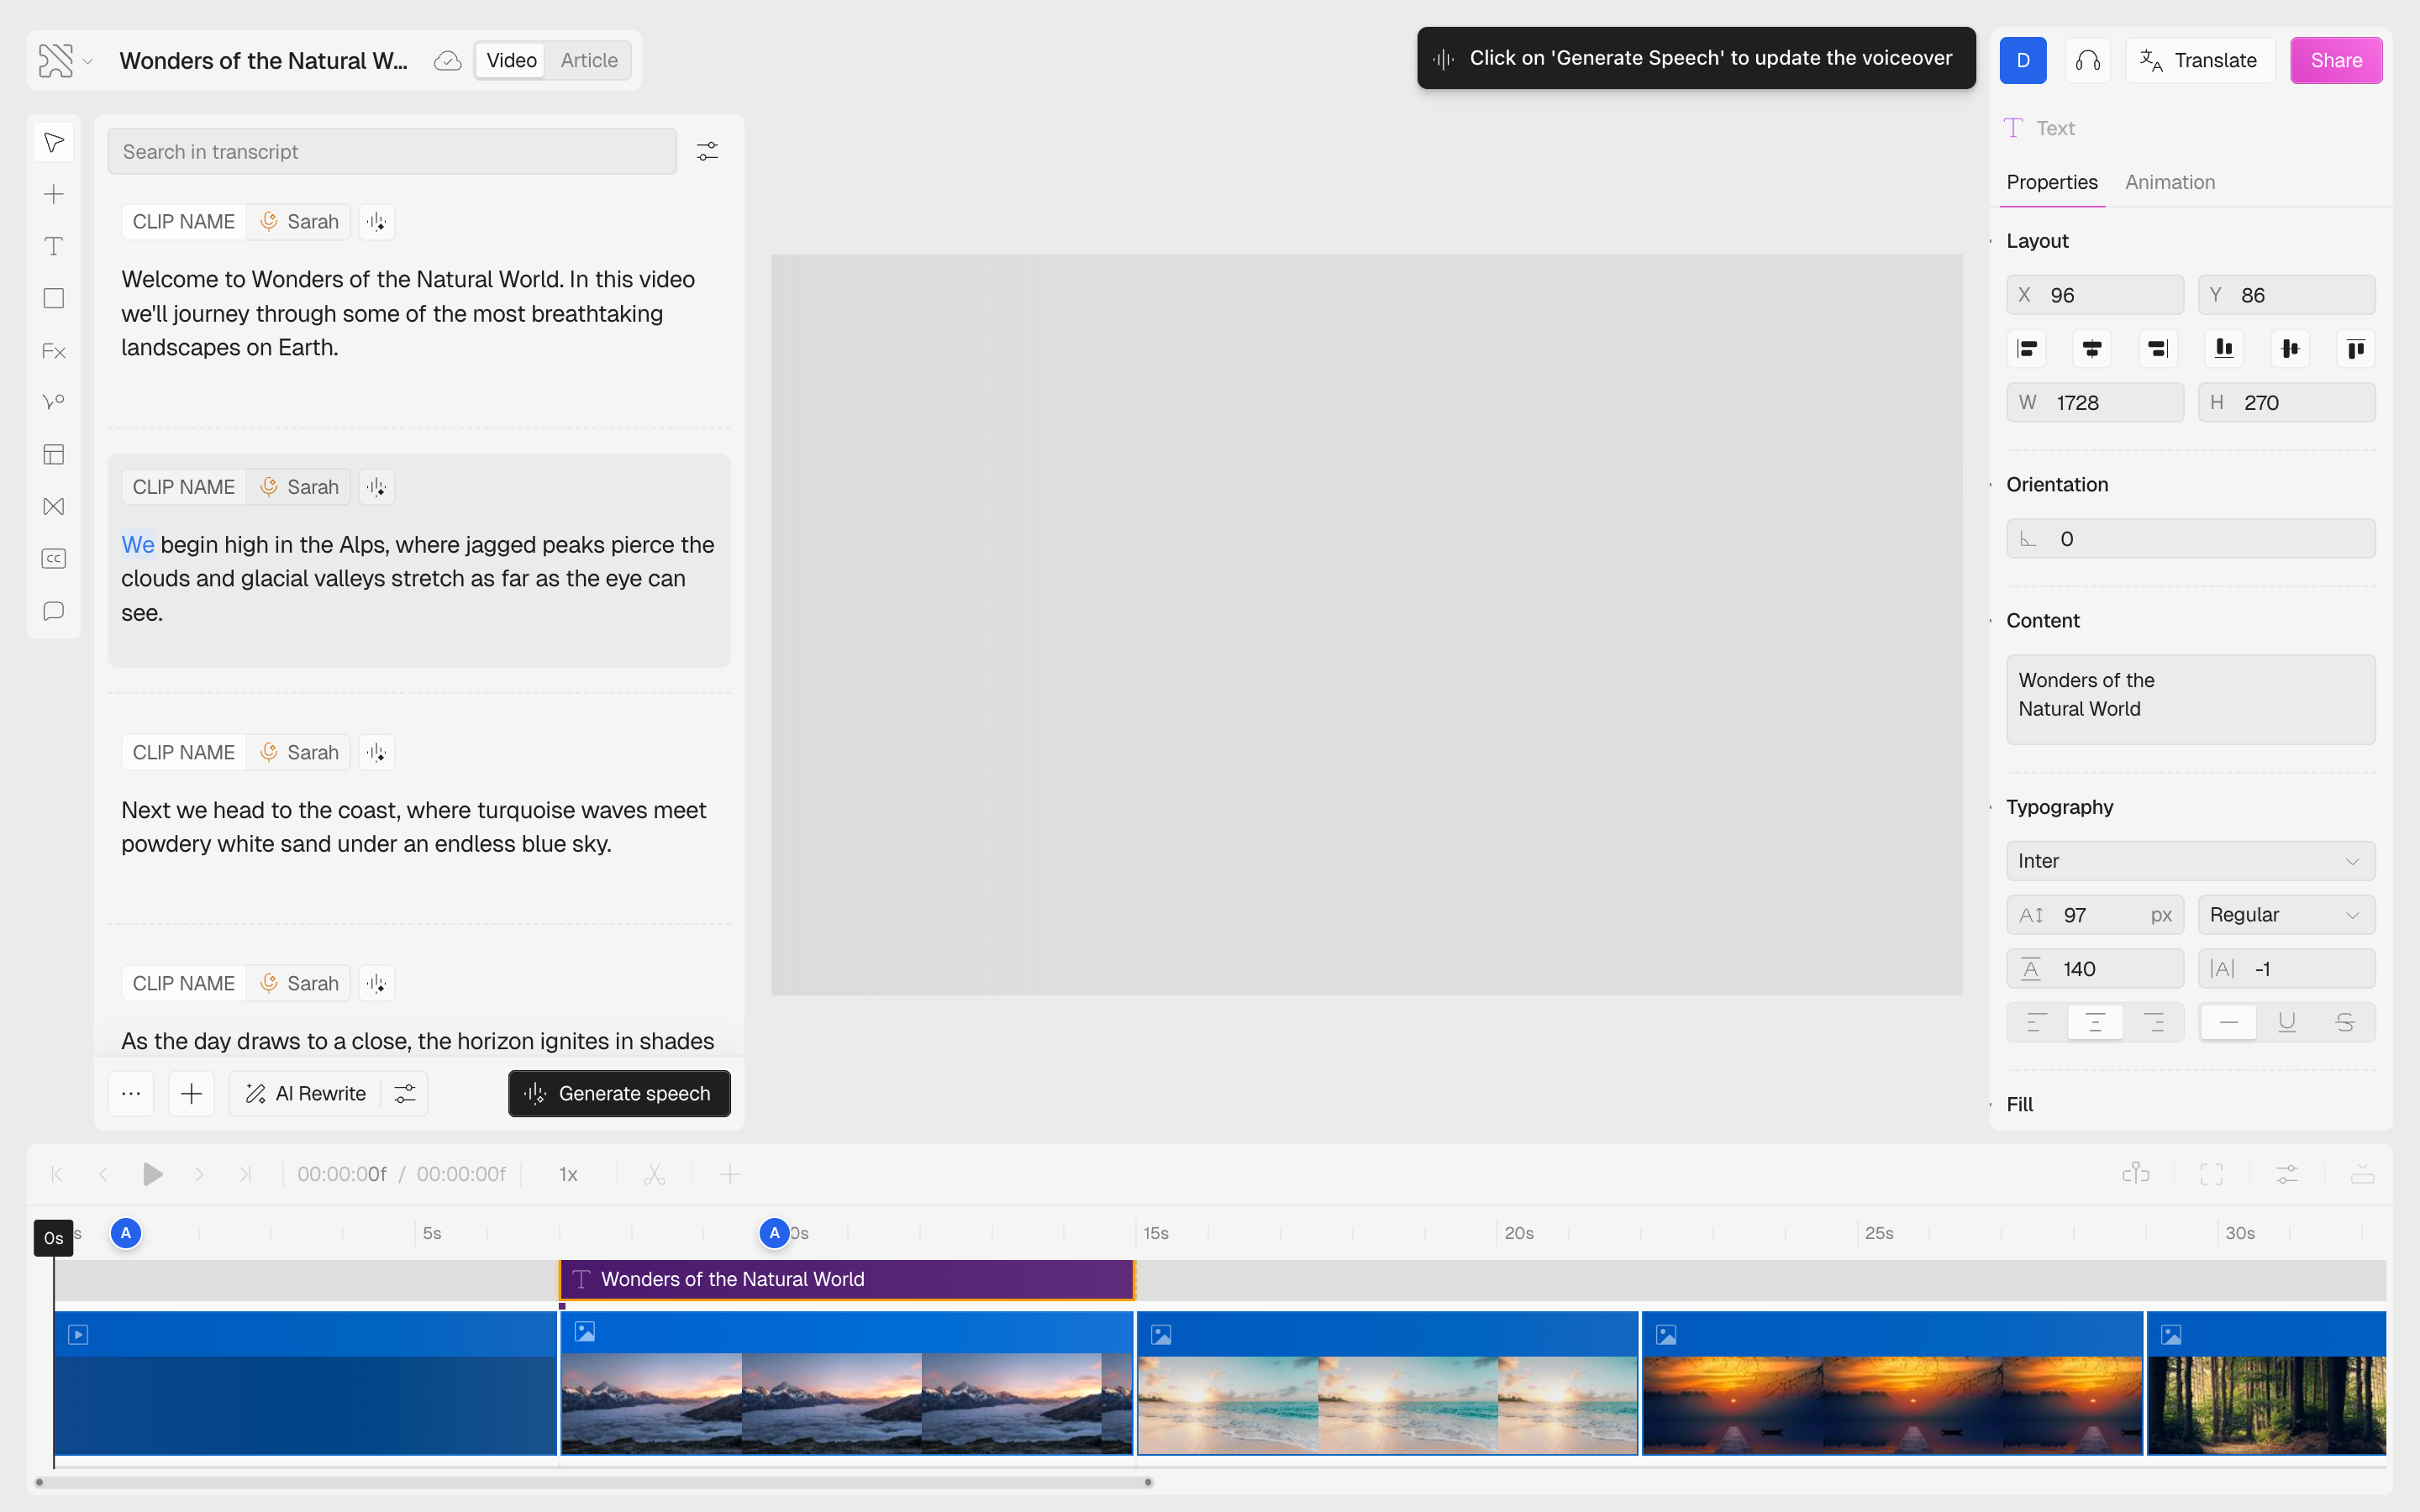
2
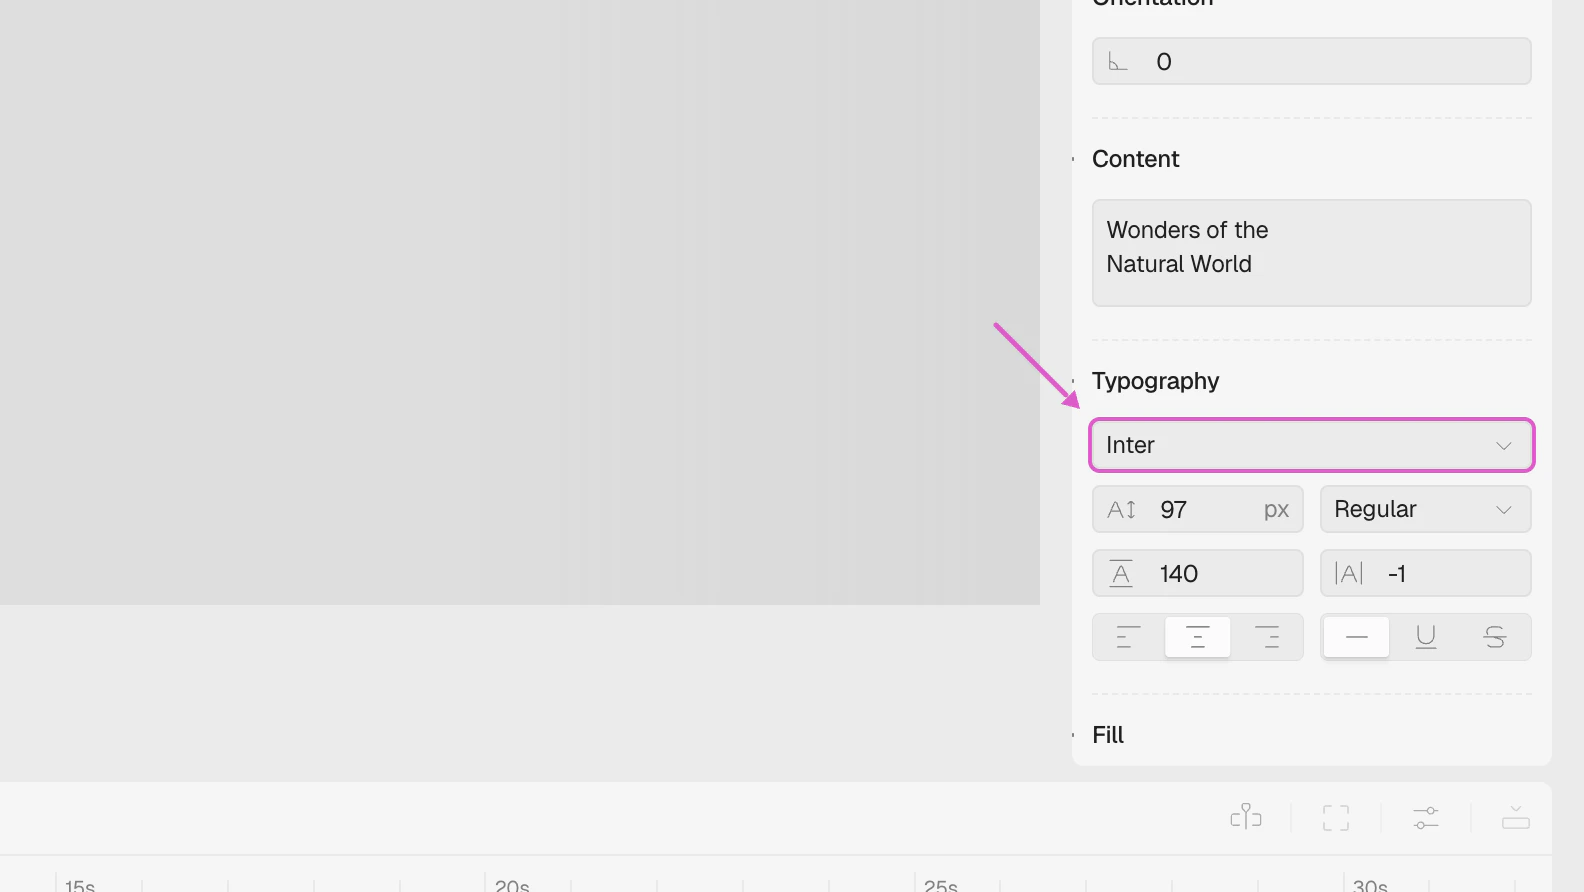
Open the font picker
In the Typography section, click on the font name dropdown (it shows the current font, e.g., “Inter”). This opens the font picker with three tabs:
- All — shows both your custom fonts and Google Fonts
- Saved — shows only fonts you’ve uploaded, with a “Custom” badge
-
Library — shows the full Google Fonts library
3
Browse available fonts
The font picker shows all available fonts. Your custom fonts appear at the top with a Custom badge. Use the search bar to quickly find any font by name.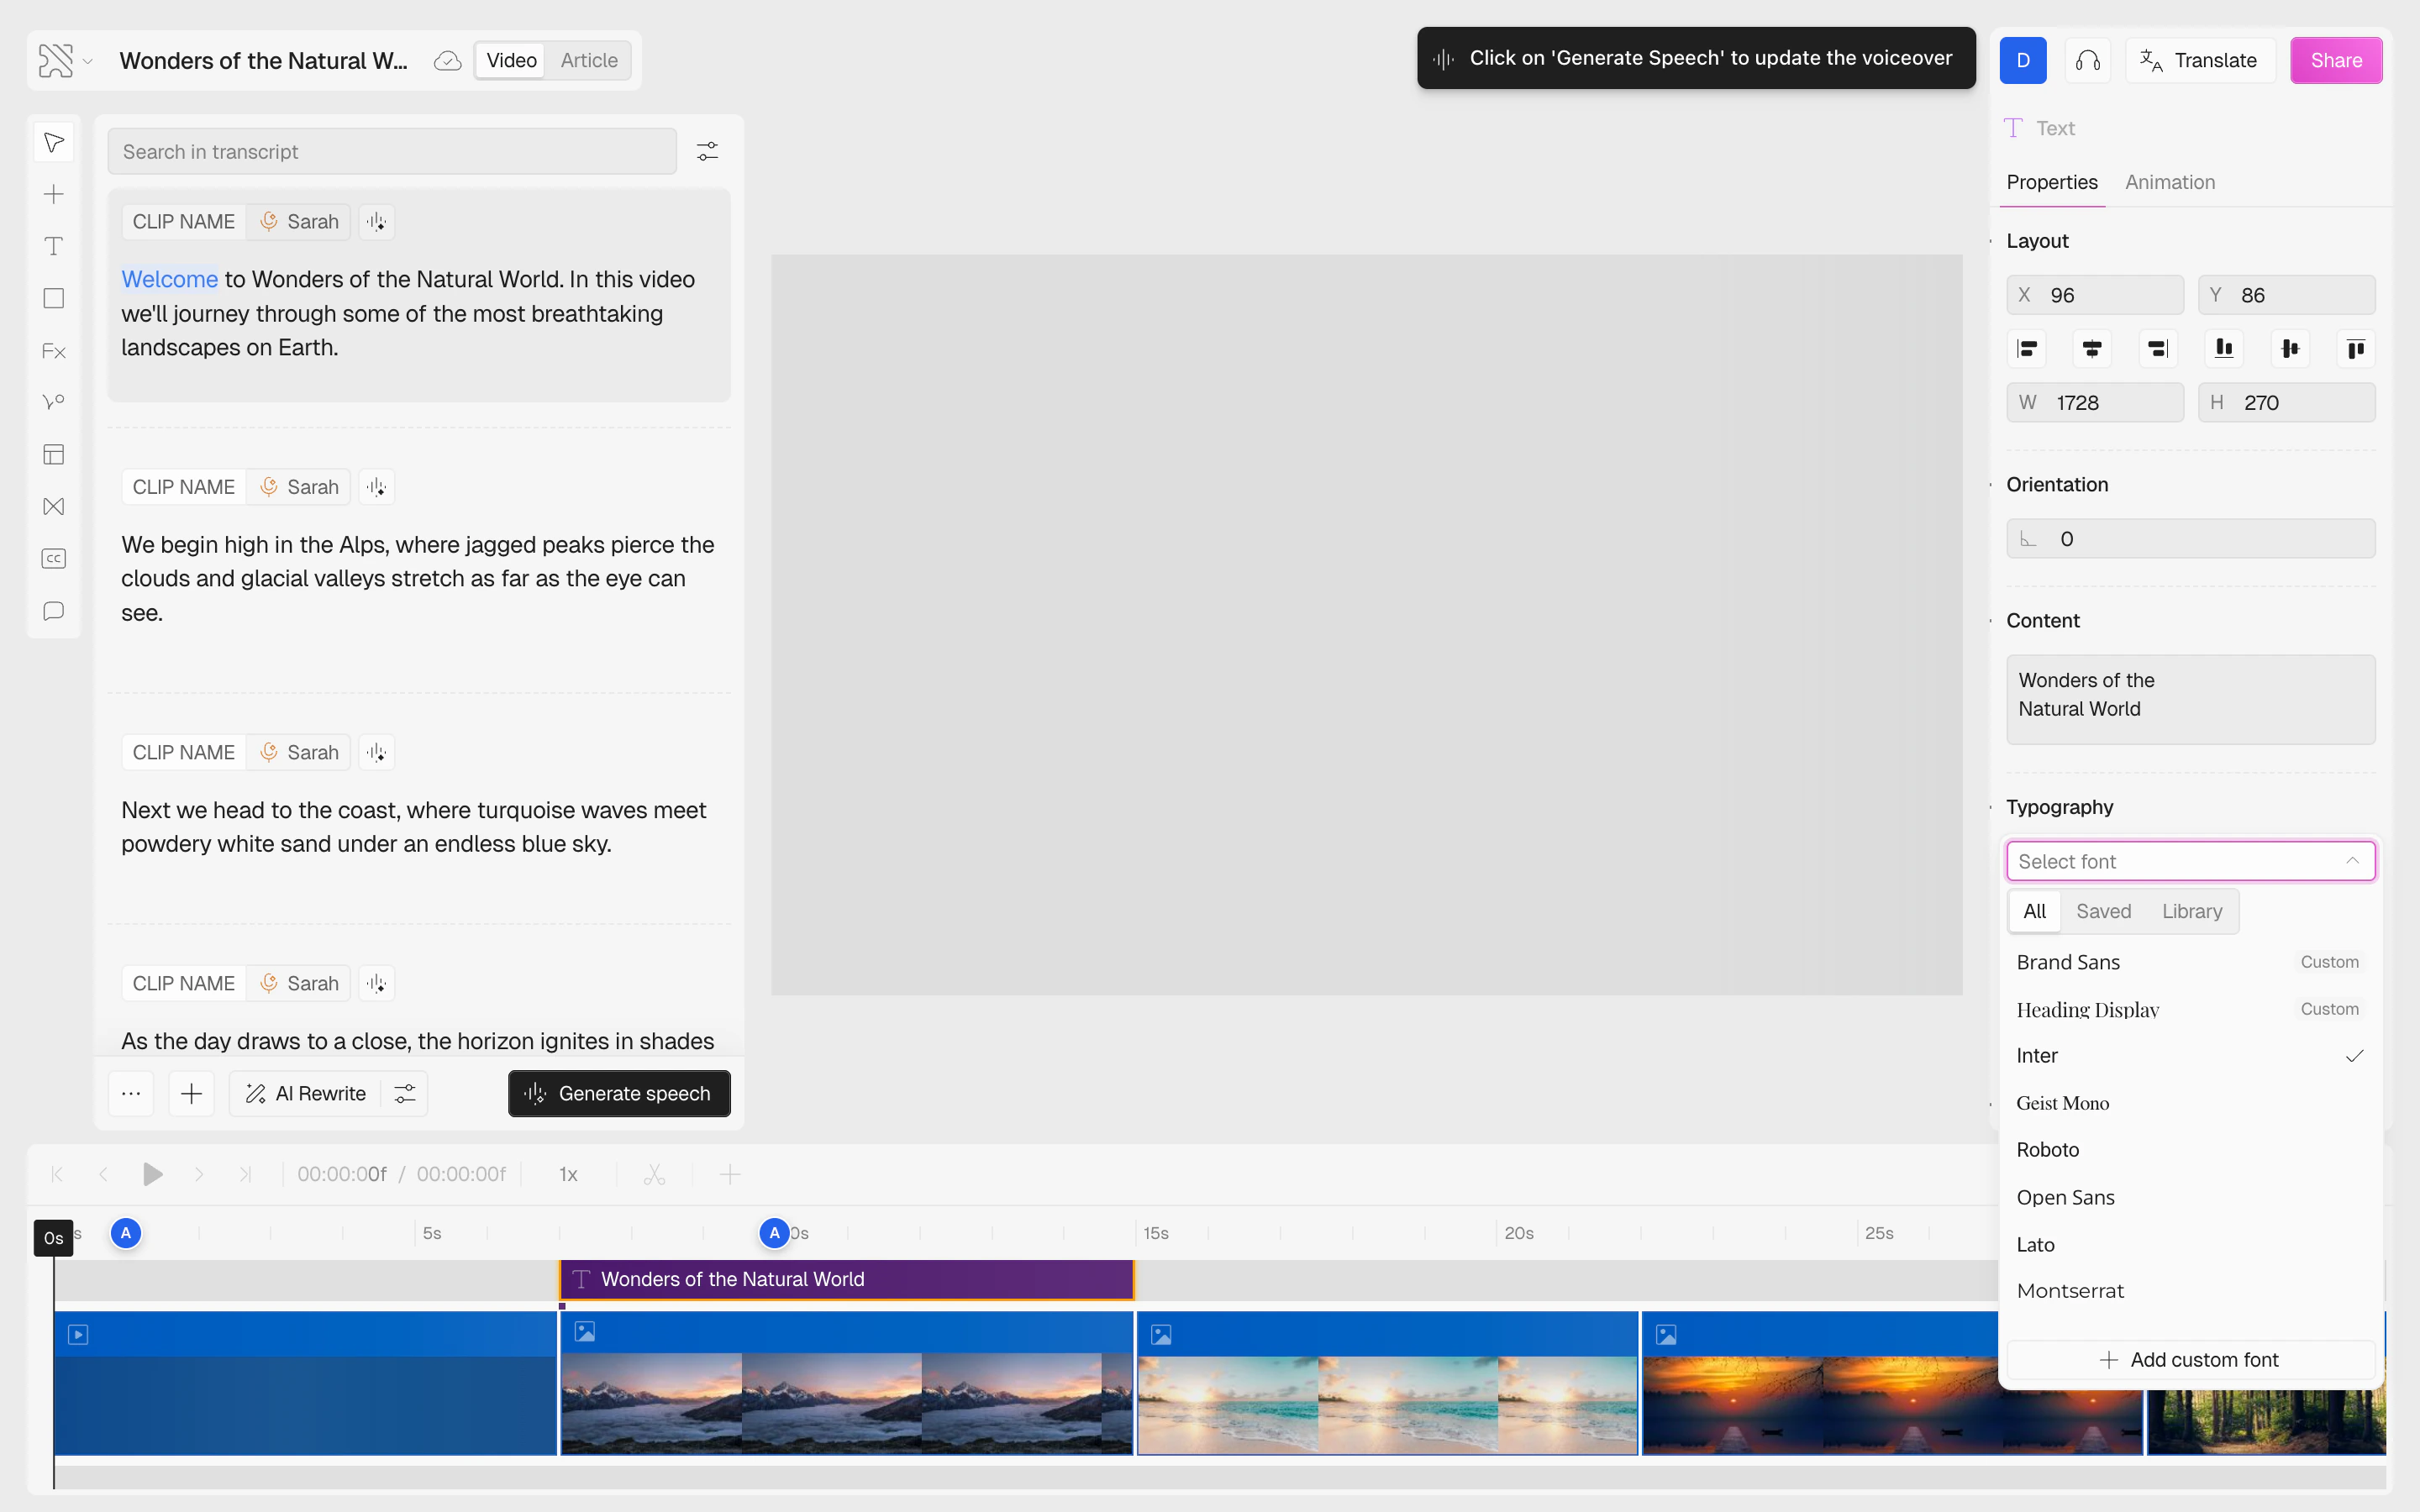
4
Upload a new font
Scroll to the bottom of the font list and click Add custom font to open the upload modal:
- Drag and drop your font file into the upload area, or click to browse
- The font name is auto-populated from the filename — you can change it if desired
- Click Submit to complete the upload
5
Use your custom font
After uploading, your custom font is automatically selected. It appears under the Saved tab and is available across all your projects.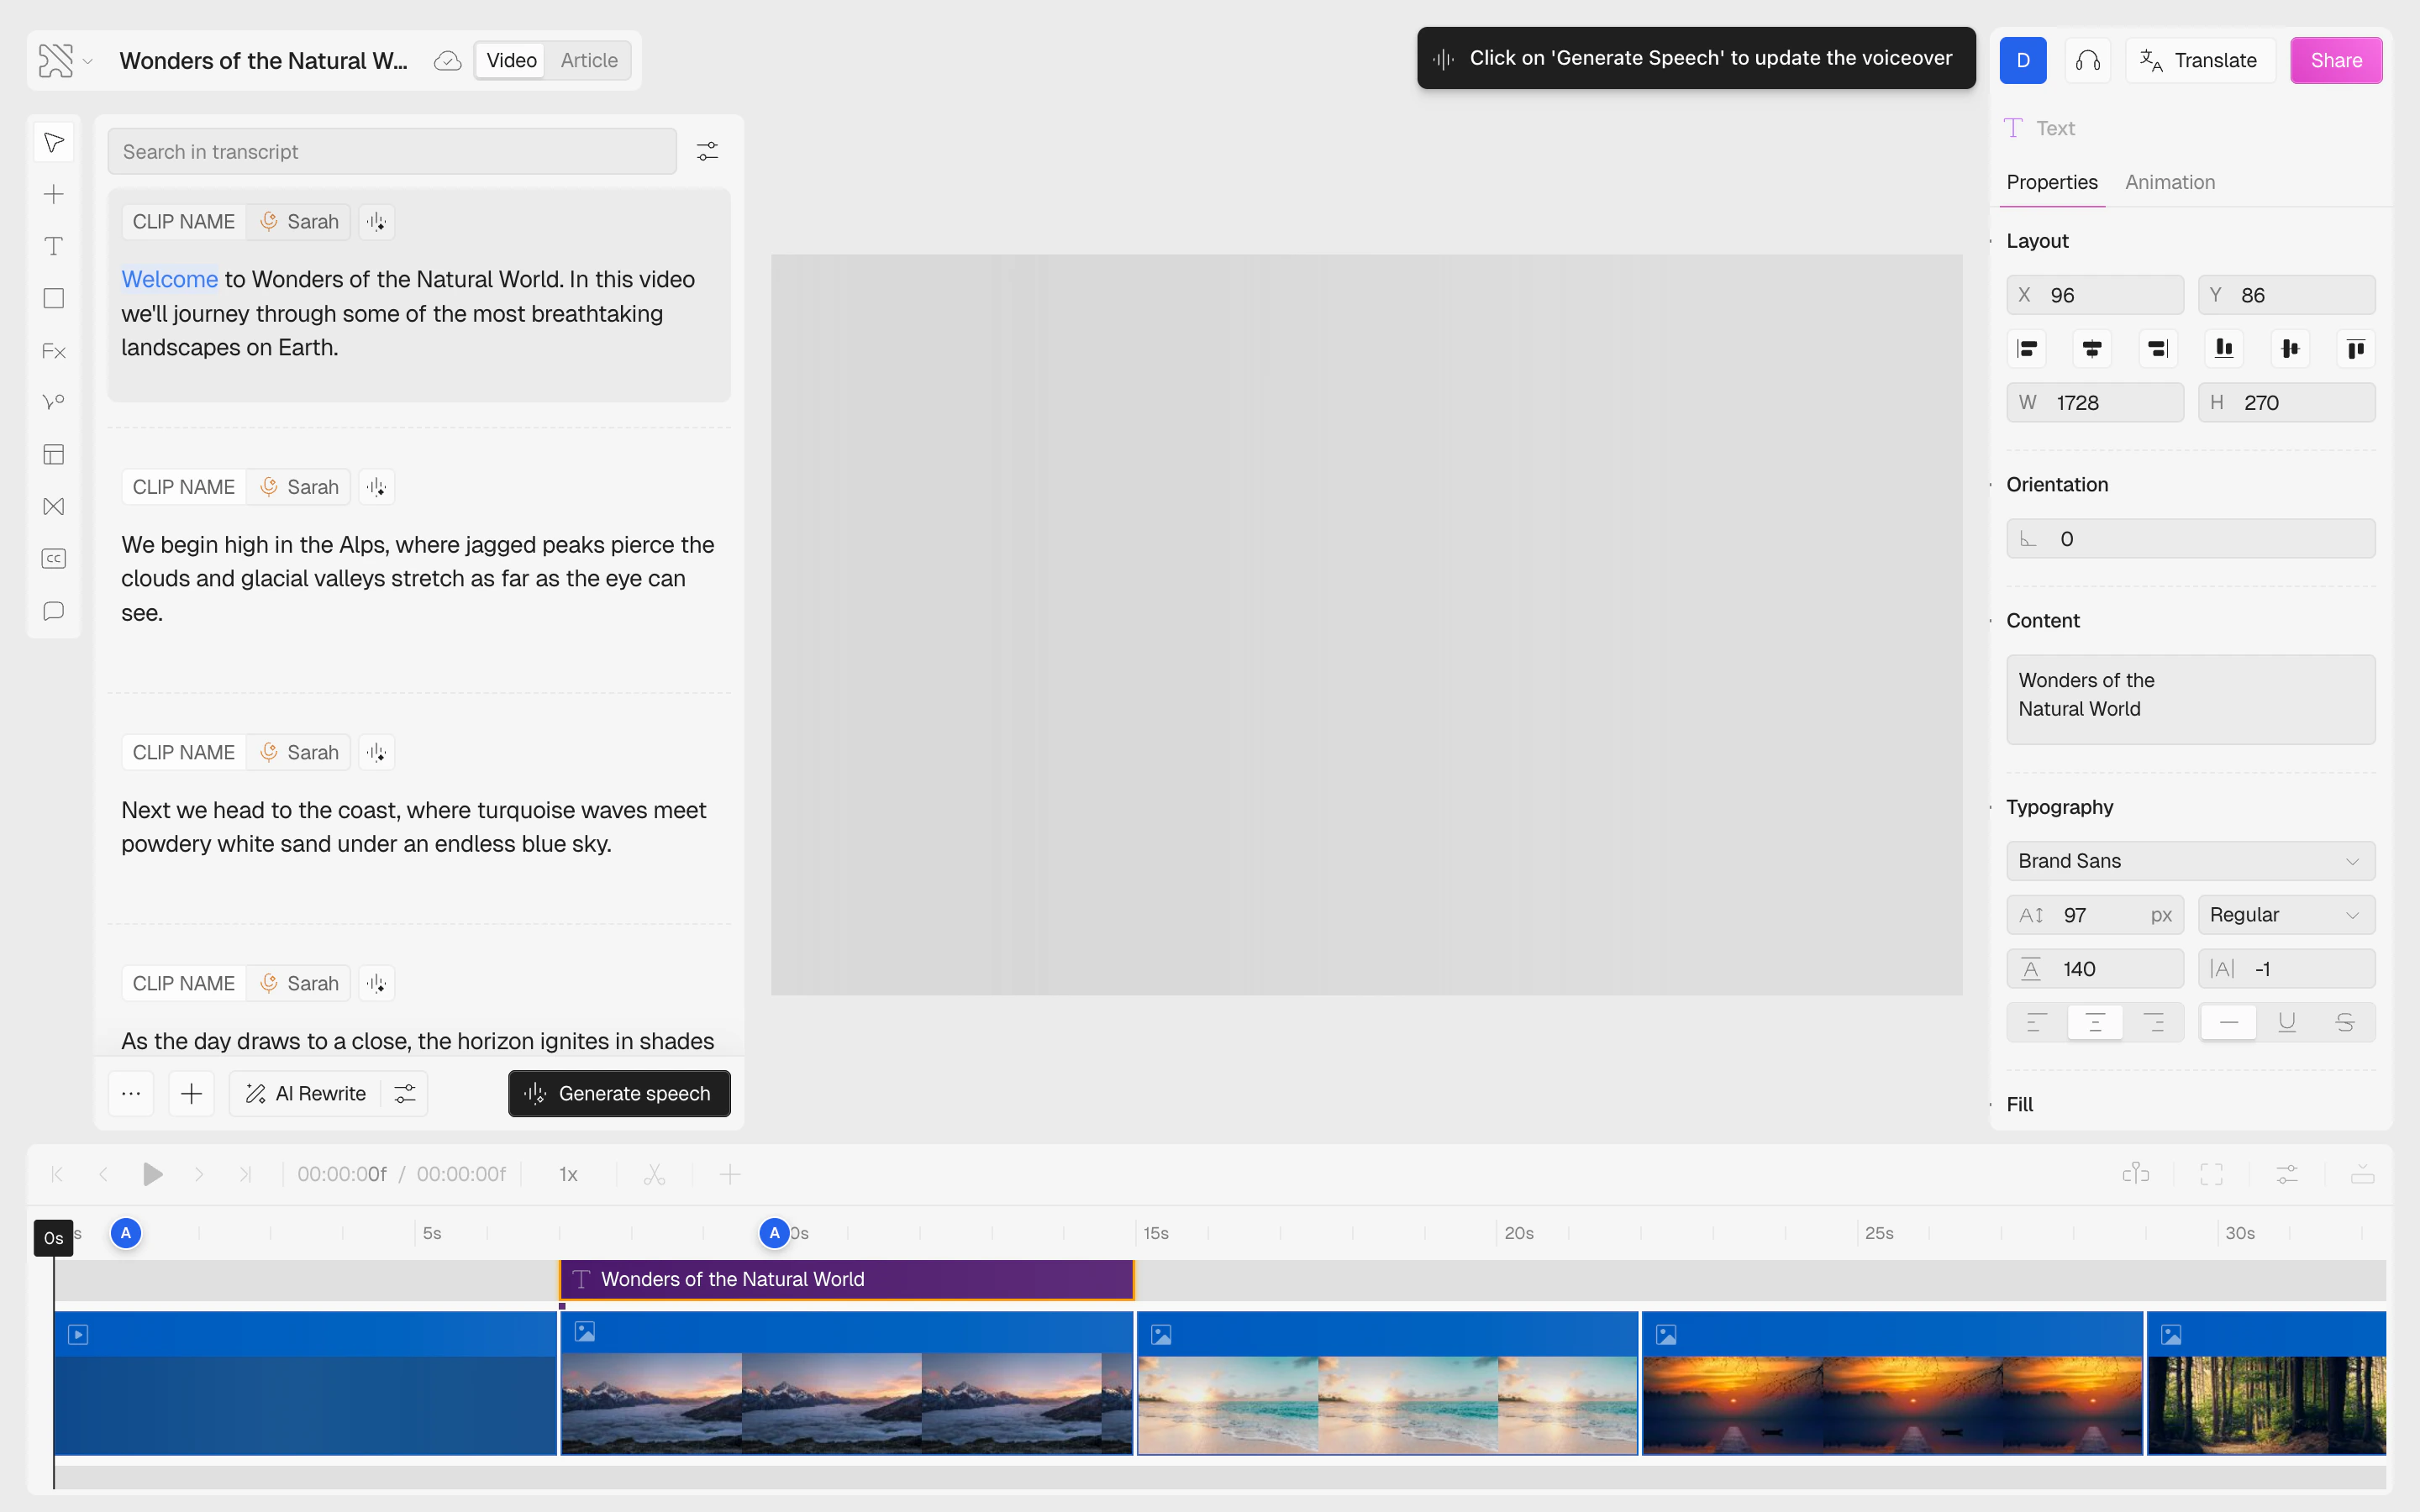
Supported Font Formats
Clueso supports the following font file formats:Font Weights and Variants
When you upload a font, Clueso automatically detects the available font weights (e.g., Regular, Bold, Light). If the font file contains multiple weights, they’ll all be available in the weight dropdown when styling your text. For fonts with a single weight, only that weight will be available. To use multiple weights of the same font family, upload each weight as a separate file with a descriptive name (e.g., “Brand Sans Light”, “Brand Sans Bold”).Typography Controls
When a text element is selected, the Typography section in the right panel provides full control over:- Font family — click the font name to open the picker
- Font size — set in pixels
- Font weight — Regular, Bold, Light, etc. (depends on available weights)
- Line height — spacing between lines
- Letter spacing — spacing between characters
- Text alignment — left, center, right, justify
- Text decoration — underline, strikethrough
Using Your Custom Fonts
Once uploaded, your custom fonts are available everywhere fonts appear:- Text elements on the video canvas — select any text and change its font
- Visual style picker — when creating a new video from a prompt, you can override the template’s default font
- All projects — custom fonts are shared across your entire workspace
Managing Custom Fonts
- Delete a font — hover over a custom font in the font picker and click the delete icon
- Search fonts — use the search bar at the top of the font picker to quickly find any font
FAQs
Can my team see the fonts I upload?
Can my team see the fonts I upload?
Yes. Custom fonts are shared across your entire workspace. Anyone on your team can use them in their projects.
Will deleting a font break existing videos?
Will deleting a font break existing videos?
No. Videos that already use a deleted font will keep their current appearance. The font is only removed from the picker for future use.
How many custom fonts can I upload?
How many custom fonts can I upload?
There’s no limit on the number of custom fonts you can upload.
Can I use Google Fonts instead?
Can I use Google Fonts instead?
Yes. The Library tab in the font picker gives you access to the entire Google Fonts library — no upload needed.