> ## Documentation Index
> Fetch the complete documentation index at: https://help.clueso.io/llms.txt
> Use this file to discover all available pages before exploring further.
# Video element
> Learn how to add a video on top of your canvas as an independent, movable element
Video elements let you layer a video directly on your canvas, on top of your existing clip. Unlike a background video or a separate clip, a video element sits as an overlay you can freely position, resize, and animate.
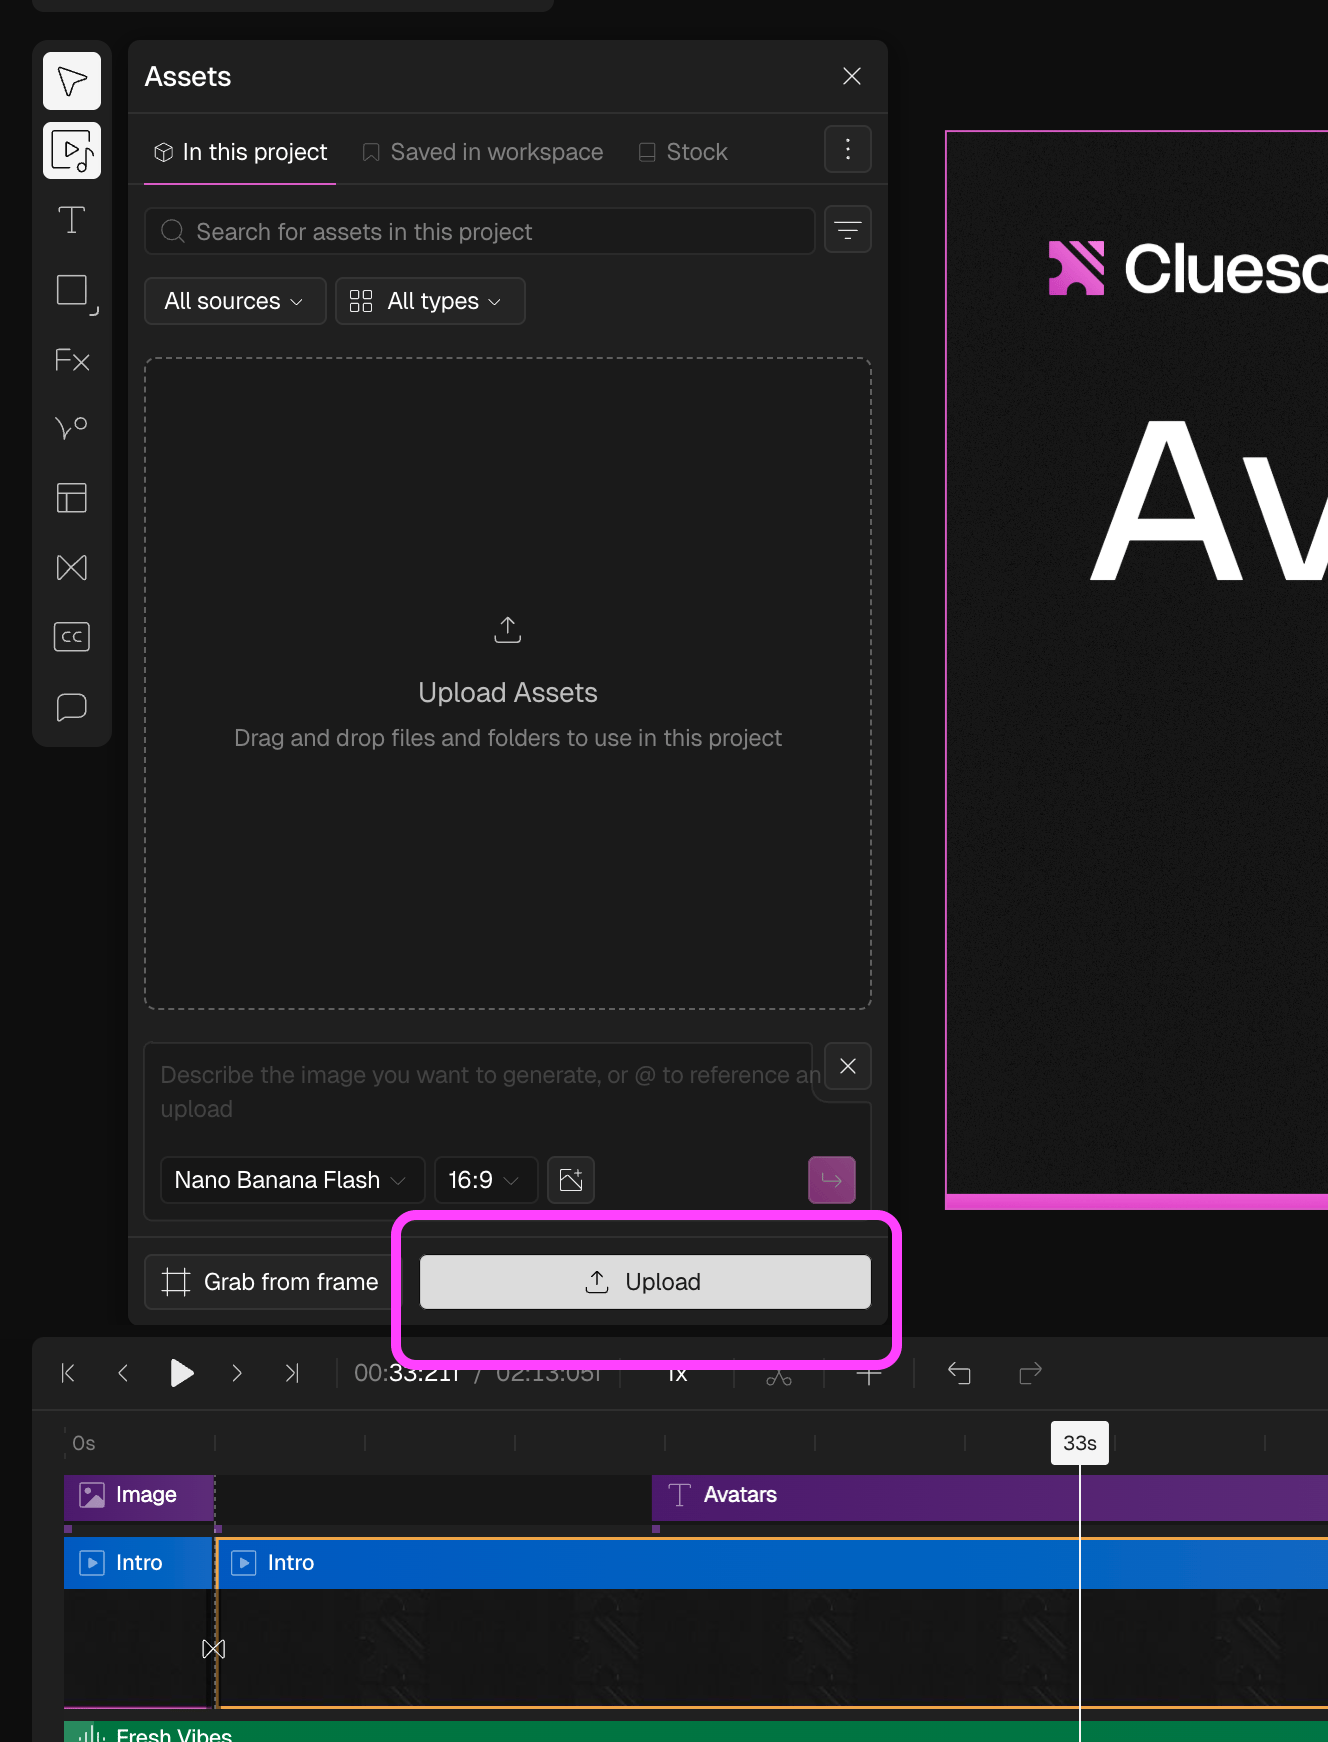
Open the media panel from the left panel and click Upload, in either the In this project or Workspace tab.
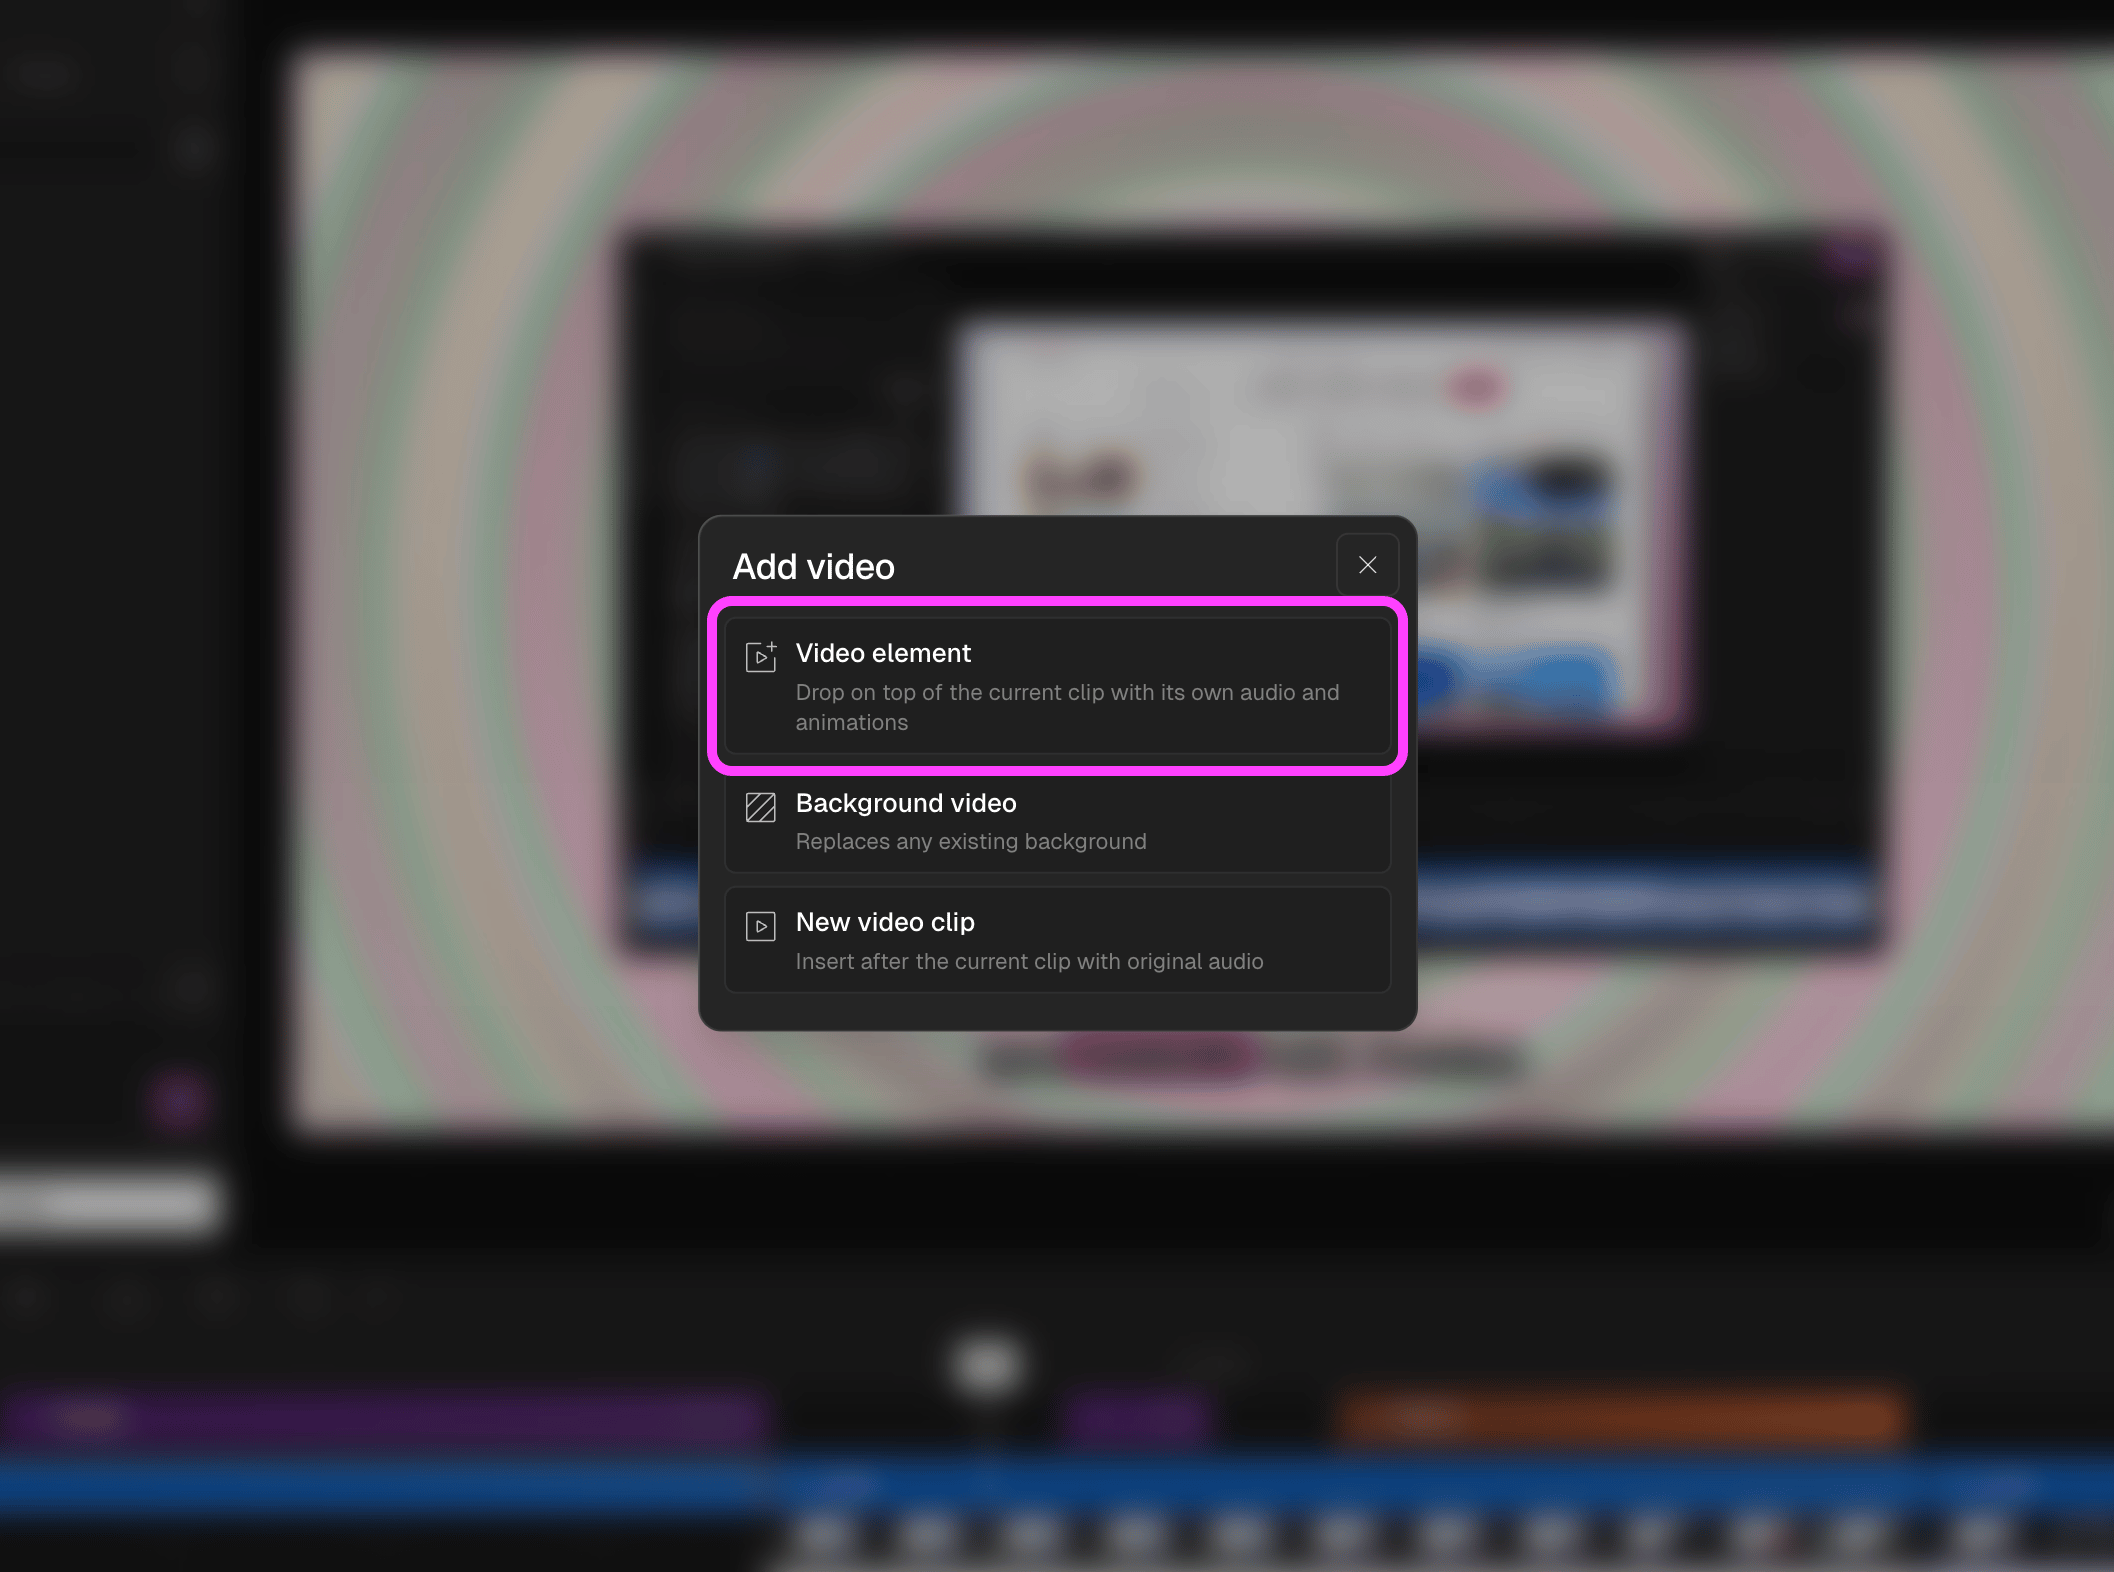
 To add it to your canvas, click the video and choose **Video as element** from the three options. It lands on your canvas as an overlay.\\
 Drag the video element to where you want it on the canvas and use the corner handles to resize it.
 Select the element to open the right panel. It has three tabs: Properties for border, radius, and opacity, Audio for volume and Animation for entry and exit effects.
 The video element carries its own audio. For a visual-only overlay, mute it from the timeline.